
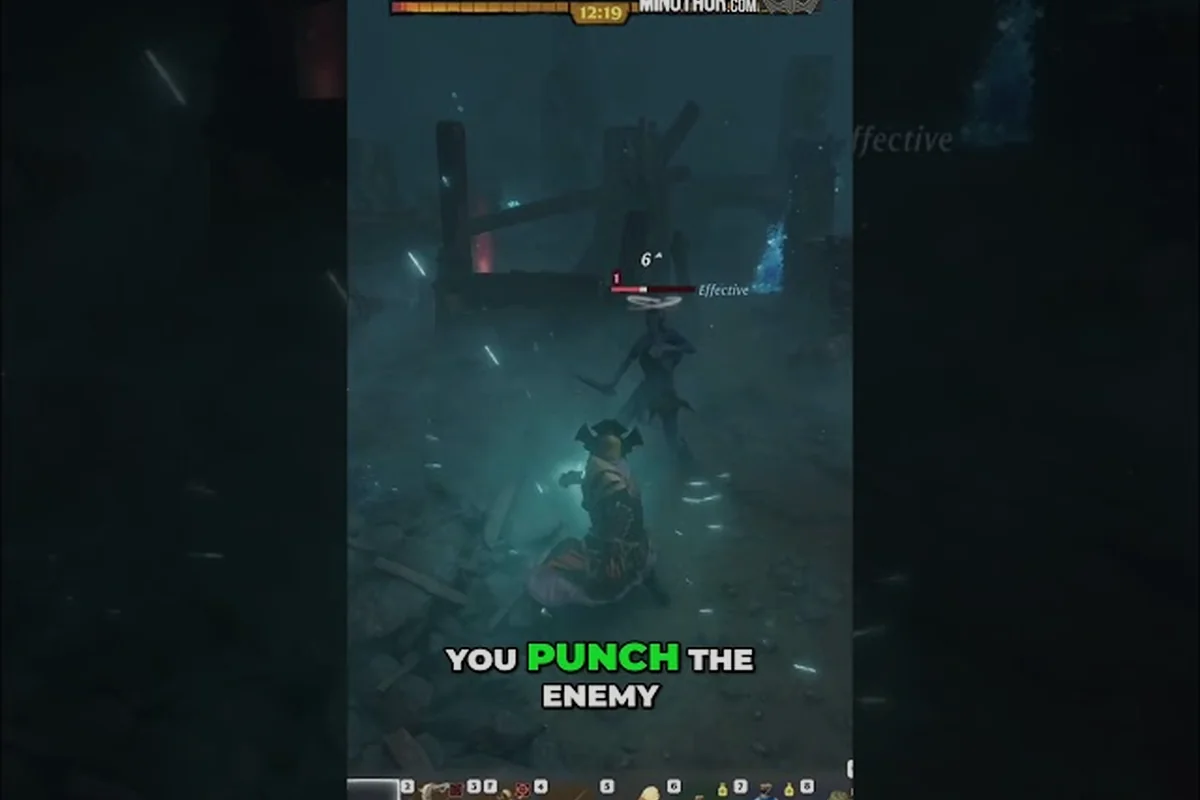
Combat in Enshrouded rewards timing far more than raw stats, and this Enshrouded merciless attack guide breaks down the stun bar, the fishing loop, and the crop farming that keeps your Flameborn fed between fights. Get the mechanics right and every elite encounter becomes a controlled takedown instead of a scramble.
How Merciless Attacks and the Stun Bar Work Together
Merciless attacks are the payoff for reading an enemy's stagger state correctly. Every heavy enemy in Embervale carries a hidden stun bar that fills as you land hits, and once it maxes out the target drops into a staggered window where your damage output spikes. The trick most new players miss is that the bar decays fast, so scattered chip damage never triggers the break.
The stun bar itself is not a visible meter in the vanilla HUD, which is why so many players fight blind for their first ten hours. According to community testing, the bar fills proportionally to the impact value of each hit rather than raw damage numbers, meaning a slow two-handed swing contributes far more stagger than three quick dagger pokes. That single detail reshapes how you should build a merciless attack rotation.
| Attack Type | Stagger Contribution | Best Use Case |
|---|---|---|
| Two-handed heavy swing | High impact, slow recovery | Opening a fight, breaking guards |
| Wand heavy attack | Moderate, ranged | Safe chip stagger from distance |
| Dagger combo finisher | Low per hit, high frequency | Sustaining pressure between heavies |
| Shield bash | High burst, short range | Interrupting wind-up animations |
| Jump attack | Very high on landing | Closing distance and instantly staggering |
The 1.0 changelog reshuffled several of these values. Wands gained heavy attacks plus free-aim and evasive or aerial options, dagger skills migrated from the Warrior tree into the Assassin area, and blocking now follows camera direction so it feels noticeably more responsive. Those changes matter because they let a caster or hybrid build contribute real stagger instead of standing back and plinking.
Reading the Stagger Window
A staggered enemy takes bonus damage and cannot retaliate, but the window is short — roughly two to three seconds depending on the enemy class. The correct play is to bank your biggest cooldown for that exact moment rather than firing it the instant it comes off cooldown. Players who hold their burst for the break consistently clear elites faster than those who spam on cooldown.
If you want the full breakdown of which enemy factions stagger easily and which resist it, the boss stun meter guide maps every heavy archetype in the game. Knowing that Fell enemies break quickly while Vukah brutes absorb far more impact is the difference between a clean kill and a long, punishing fight.
Building a Merciless Attack Rotation That Actually Lands
A rotation only works if it respects the stun bar's decay rate. The core principle is front-loading impact so the bar fills before it can bleed off, then converting the break into maximum damage. Here is the sequence that works across most weapon types.
-
Open with your highest-impact hit. A two-handed overhead or a jump attack lands the biggest single stagger chunk and starts the bar high.
-
Follow with two fast hits. Daggers, one-handed swings, or wand free-aim shots keep pressure on while the heavy recovers.
-
Bait the wind-up, then shield bash. Most elites telegraph a heavy attack; a bash during that animation adds burst stagger and cancels the swing.
-
Hold your burst cooldown. Save your biggest skill for the moment the bar breaks, not the moment the fight starts.
-
Reset and repeat. If the bar decays without breaking, back off, let stamina regenerate, and re-open with impact.
Stamina is the silent constraint here. Every heavy swing costs a large chunk, and running dry mid-rotation means you eat a free hit. A stamina-focused ring or backpack upgrade smooths this out considerably, and the rings and backpacks guide covers which accessories actually move the needle versus which are trap picks.
Weapon Gems and the Damage Multiplier
Weapon gems were rebalanced hard in 1.0, and the numbers are worth internalizing. The Gem of Toxic Reaction climbed from roughly +21% DPS at level 10 to about +65% at level 50, which turns a modest gem into a genuine endgame multiplier. Gems also no longer harm your base animals, so you can socket freely without worrying about your livestock.
| Gem | Low-Level Value | High-Level Value | Notes |
|---|---|---|---|
| Gem of Toxic Reaction | ~+21% DPS | ~+65% DPS | Scales hardest with level |
| Impact-focused gems | Moderate | Strong | Best paired with two-handers |
| Elemental conversion gems | Low | Moderate | Situational vs. resistant enemies |
The takeaway is that gem choice is not a flat bonus — it scales with your level and your weapon's base impact. A merciless attack build that ignores gems leaves a large multiplier on the table, especially once you pass level 40 and the scaling curve steepens.
Fishing in Enshrouded: A Reliable Food and Material Loop
Fishing is the quietest progression system in the game and one of the most underrated. It supplies raw fish for cooking, which feeds directly into the combat efficiency system — remember that hunger and thirst in Enshrouded affect your fighting performance rather than draining a health bar, so a well-fed Flameborn hits harder and blocks better.
To start fishing you need a fishing rod, which you craft once you have the relevant survivor stationed at your base. Cast into any body of water, wait for the bobber to dip, and reel at the right moment. The timing window is forgiving compared to most survival games, which makes fishing a low-stress way to stock your pantry between dungeon runs.
| Fish Type | Cooking Use | Best Water Source |
|---|---|---|
| Common river fish | Basic cooked meals | Inland rivers and ponds |
| Lake fish | Stamina-boosting dishes | Larger lakes near starting zone |
| Rare deep-water fish | High-tier buff food | Coastal and deep water |
The official Enshrouded's Steam store page lists fishing alongside hunting, farming, and survivor rescue as core pillars of the survival loop, which tells you the developers intended it as a real system rather than a novelty. Treating it as a chore means missing a steady supply of buff food that costs you nothing but time.
Where Fishing Fits in Your Routine
The efficient pattern is to fish during downtime — after a boss attempt, while crops grow, or while waiting for a survivor quest to refresh. Because fishing requires no combat resources, it is the perfect low-risk activity when your gear is broken or your stamina food has run out.
Crop Farming: How to Farm Crops Without Wasting Seeds
Crop farming is where your base stops being a shelter and starts being an engine. The farming loop in Enshrouded runs on seed → plot → harvest → replant, and the single biggest mistake new farmers make is harvesting without keeping enough seed back to replant the field.
Here is the practical sequence for getting a farm running, and the order matters more than most players expect: rescue and summon the farmer survivor first, since every hoe, seed packet, and crop recipe is gated behind that NPC — a base with tilled soil but no farmer produces nothing. Once the farmer is stationed, craft a hoe at their workstation, till a flat patch of ground, and plant in rows rather than tight clumps; Enshrouded crops check for adjacent block occupancy, so overcrowded plots stall at partial yield and effectively waste the seed you spent. Plant before a long expedition so the in-game growth timer runs while you are away, then harvest with a reserve — keep roughly a third of each yield as seed stock, because replanting from your own harvest is the only way the loop sustains itself without repeated foraging runs into shroud-covered seed spawns.
-
Unlock the farmer survivor. Farming tools and seeds come from rescuing and summoning the farmer NPC to your base.
-
Prepare soil with a hoe. Tilled ground is required before any seed will take; untilled dirt simply wastes the seed.
-
Plant in rows, not clumps. Spacing matters because some crops need room to grow to full yield.
-
Water and wait. Growth runs on an in-game timer, so plant before you head out on a long expedition.
-
Harvest with a reserve. Always keep roughly a third of your yield as seed stock for the next cycle.
The survivor summoning guide explains how to bring the farmer and other NPCs to your base, which is a prerequisite most players stumble on because they build a farm before they have anyone to run it. Without the right survivor, your plots sit idle no matter how well you prepare the soil.
Crop Types and What They Feed
Crop selection directly affects how often you can trigger a Merciless Attack, since the stun bar only fills when your character is fed and buffed. Basic vegetables like turnips and carrots cook into the cheap stamina meals that keep your stun buildup consistent during long fights, while herb crops such as aloe and lavender feed the potions and buff food that sharpen your burst window once the bar is full. Fiber crops matter less for combat but supply the cloth for gear upgrades, so treat them as a background investment rather than a priority. The takeaway: plant heavily for the meals you eat every session, and only dabble in slow herbs when a specific Merciless Attack build demands them.
| Crop | Primary Use | Growth Speed | Replant Value |
|---|---|---|---|
| Basic vegetables | Everyday cooked meals | Fast | High — easy to sustain |
| Grain-type crops | Flour and baked goods | Medium | Medium |
| Herb crops | Potions and buff food | Slow | Low — buy seeds instead |
| Fiber crops | Cloth and crafting | Medium | High |
The general rule is to over-plant fast crops and under-plant slow ones, because a Merciless Attack build lives or dies on uptime, not variety. Basic vegetables like turnips and carrots mature in roughly one in-game day and replant for free from their own yield, so a single dedicated plot can keep your stamina meals stocked indefinitely. Herb crops such as aloe and lavender, by contrast, take several in-game days per harvest and return low replant value, which is why the table above flags them as "buy seeds instead" — you are better off purchasing potion ingredients from a vendor than surrendering a field slot to them. A field full of herbs looks impressive but leaves you short on the everyday food that actually keeps your combat efficiency topped up, and an empty stamina bar means a stun bar that never fills.
Tying Combat, Fishing and Farming Into One Loop
These three systems are not separate hobbies — they feed each other. Combat clears the Shroud and unlocks new regions, fishing and farming supply the food that makes combat survivable, and a stocked base means you never have to leave mid-expedition to scavenge. The players who progress fastest are the ones who treat the homestead as a support system for their merciless attack build rather than a distraction from it.
A practical weekly rhythm looks like this: run combat content until your food buffs run low, return to base, harvest crops and fish for an hour, cook a fresh batch of meals, then head back out. Because the Shroud limits how long you can stay inside before dying, having a stocked pantry directly extends how far you can push into dangerous territory on a single run.
Base Placement Affects All Three Loops
Where you build determines how convenient fishing and farming become. A base near water cuts travel time to fishing spots, while flat terrain makes crop plots easier to lay out. The best base location guide weighs water access, flat ground, and Shroud proximity, which are exactly the variables that decide whether your homestead loop feels smooth or tedious.
Frequently Asked Questions
What is a merciless attack in Enshrouded?
A merciless attack is the burst of bonus damage you deal during a staggered window, triggered when an enemy's stun bar fills completely. Because the window lasts only two to three seconds, you should bank your biggest cooldown for that moment instead of firing it the instant it becomes available.
How does the stun bar work in Enshrouded?
The stun bar fills based on the impact value of your hits rather than raw damage, and it decays quickly if you stop attacking. Heavy two-handed swings and jump attacks contribute far more stagger than rapid light hits, so front-loading impact is the reliable way to force a break.
How do I start fishing in Enshrouded?
Craft a fishing rod after summoning the relevant survivor to your base, then cast into any body of water and reel when the bobber dips. Fishing supplies raw fish for cooking, and since hunger affects combat efficiency rather than health, a stocked pantry directly improves your fighting performance.
What is the fastest way to farm crops in Enshrouded?
Till soil with a hoe, plant in spaced rows, and always keep about a third of each harvest as seed stock for replanting. Fast-growing vegetables sustain everyday meals best, while slow herb crops are usually cheaper to buy as seeds than to grow at scale.
Do weapon gems affect merciless attack damage?
Yes, and they scale significantly with level. The Gem of Toxic Reaction rose from roughly +21% DPS at level 10 to about +65% at level 50, so socketing an impact or elemental gem is one of the largest single multipliers available to a stagger-focused build.
Mastering the stun bar turns every elite fight into a predictable sequence, while fishing and crop farming quietly supply the food buffs that keep your damage and blocking at full strength. Build the rotation, stock the pantry, and the homestead loop carries you through Embervale far more comfortably than raw gear ever will.