
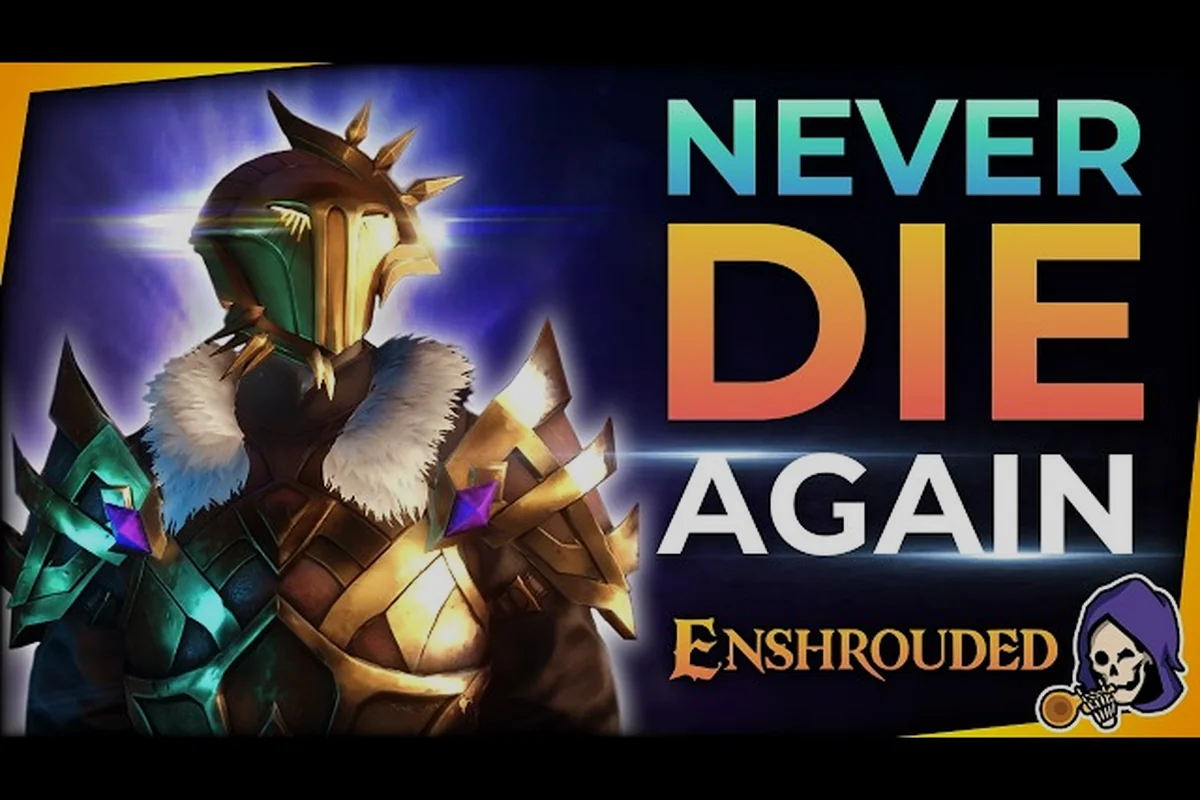
Your survivability in Enshrouded comes down to one number before anything else: your maximum health pool. If you want to know how to increase max health in Enshrouded, the answer is not a single item or a hidden stat — it is a layered system of gear, skill nodes, and combat habits that all feed the same pool.
Why Your Health Pool Sets Your Difficulty Ceiling
Every fight in Embervale is a math problem, and your health pool is the denominator. A player with 320 max health can eat two hits from a mid-tier Shroud enemy and still recover; a player with 180 max health dies to the same combo before they learn the attack pattern. That gap is why health scaling matters more than raw damage early on.
The game's combat design pushes you toward active defense rather than tanking. According to the official Enshrouded Steam page, the skill tree splits into juggernaut, ranger, and battlemage branches, and each branch offers its own route to durability. The juggernaut path leans on armor and health nodes, while ranger and battlemage builds usually patch their health through gear and food instead.
Three systems decide how much punishment you can absorb: your base health from level-ups, flat health rolls on chest armor and accessories, and the constitution and vitality nodes in the skill tree. A level 25 Flameborn running the juggernaut branch can realistically stack 400+ max health, while a level 10 character in starter gear sits near 180 — a difference that decides whether a Shroud elite's three-hit combo is survivable or lethal.
-
Base health from level-ups — every character level adds a small flat amount, so a level 25 Flameborn starts with a meaningfully larger pool than a level 10 one.
-
Armor and gear bonuses — chest pieces and certain accessories carry flat health rolls that stack on top of your base value.
-
Skill tree nodes — dedicated constitution and vitality nodes multiply the value of everything else you wear.
The practical takeaway: health is a build decision, not a random drop. If you are dying repeatedly in the Shroud, your pool is usually the first thing to audit before you blame your weapon. Run the numbers before you respec: a level 25 Flameborn who skips constitution nodes entirely can sit near 250 max health, while the same character with five points shifted into vitality and a health-rolled chest piece clears 400 — enough to survive a Fell Thunderbrute's overhead slam that would otherwise one-shot the squishier version. Audit your gear rolls first, since flat health on armor costs no skill points, then reallocate nodes only if your pool still falls under the ~300 threshold where Shroud elites start chaining lethal combos.
How to Increase Max Health Through Gear and Skill Points
The fastest gains come from stacking flat health rolls on gear while spending skill points on percentage-based health nodes. Flat rolls raise the floor; percentage nodes raise the ceiling. Doing both at once is what separates a comfortable build from a fragile one.
Which Armor Slots to Upgrade First
Priority order matters because materials are scarce in the early and mid game. Chest armor carries the largest single health roll in most tiers, so upgrade it before gloves or boots. Helmets sit in the middle, and boots usually contribute stamina or movement instead of health.
| Slot | Typical Health Contribution | Upgrade Priority | Notes |
|---|---|---|---|
| Chest | Highest flat roll per tier | First | Best material-to-health ratio |
| Helmet | Medium flat roll | Second | Often pairs with resistances |
| Legs | Low to medium | Third | Sometimes rolls stamina instead |
| Gloves | Low | Fourth | Prioritize damage stats here |
| Boots | Rarely health | Last | Movement and stamina focused |
A useful rule from community testing is that upgrading one full armor tier beats spreading materials across two half-finished sets. Players on the Enshrouded Steam Community Hub frequently report that a complete tier-appropriate set survives noticeably better than a mixed set with higher individual pieces.
Reading Skill Tree Health Nodes
Health nodes in the skill tree generally come in two flavors: flat additions and percentage multipliers. Flat nodes add a fixed amount of HP regardless of your current pool — a node granting +50 health gives the same +50 whether you sit at 200 or 800 base health. Percentage nodes instead scale off your total, so a 5% health node delivers +10 HP at a 200 base but +40 HP once that base climbs to 800. That gap is why percentage nodes are worth more the larger your base pool already is, which creates a natural order of operations: stack the flat nodes first to raise the floor, then let the multipliers compound on the bigger number.
-
Take flat health nodes early, when your base pool is small and every point matters.
-
Take percentage health nodes after you have equipped a full armor tier, so the multiplier applies to a bigger number.
-
Avoid splitting points across three branches at once — a diluted build usually ends up with neither damage nor durability.
If you are still mapping out your point allocation, the leveling and skill point guide walks through how points accumulate and where respecs fit in. Pairing that roadmap with a health-focused plan prevents the common mistake of spending points reactively after every death.
Parry Timing: Turning Defense Into Free Damage
A strong health pool buys you mistakes, but parry timing removes the need for them. A successful parry negates incoming damage entirely and opens a stagger window, which means the best defensive tool in the game is also an offensive one.
Parry windows in Enshrouded are generous compared to many action RPGs, but they are not infinite. The shield or weapon must be raised just before the enemy's strike connects, not held up permanently. Holding block drains stamina and eventually breaks your guard, so timing beats turtling.
| Enemy Attack Type | Parry Window Feel | Recommended Response | Risk If Mistimed |
|---|---|---|---|
| Slow overhead swing | Wide, forgiving | Parry, then heavy attack | Low |
| Fast double slash | Tight | Block first hit, parry second | Medium |
| Projectile | Wide | Parry to reflect | Low |
| Unblockable red attack | None | Dodge sideways | High |
| Multi-hit combo | Variable | Dodge out, reset | High |
Practicing Parry Without Dying
The cheapest way to learn parry timing is to fight enemies below your level in a cleared Shroud root area, since the Shroud root remains cleansed and no new spawns will interrupt your reps. Low-tier enemies telegraph the same animation language as bosses, just slower, so the muscle memory transfers directly to higher-tier encounters. This matters for max health because every clean parry preserves the HP you would otherwise spend on chip damage, letting you bank that health for the boss fights where your total pool actually matters. If you are also chasing the enshrouded how to increase max health route through Focus and Constitution stacking, parry reps let you survive long enough to test those builds without dying to trash mobs first.
-
Pick a single enemy type and fight it ten times without attacking — only parry and block.
-
Watch the wind-up, not the weapon tip; the arm movement is the real tell.
-
After three clean parries in a row, add a punish attack to build the full loop.
-
Move up one enemy tier only after you can parry consistently while backpedaling.
Community reports suggest that parry consistency improves faster when players disable damage numbers temporarily, because the floating combat text spawns directly over the enemy's shoulder and obscures the wind-up frames you need to read. In Enshrouded, that wind-up window is roughly 0.4–0.6 seconds on most Fell enemies, so any overlay covering the arm arc costs you the tell entirely. Turning off damage numbers in the interface settings removes that clutter without touching your HUD, letting you track the arm movement that actually signals the parry frame. It sounds minor, but it genuinely changes how quickly the timing clicks — and cleaner reads mean fewer chip hits, which protects the Constitution and Focus investment you are stacking for max health.
Block and Dodge Fundamentals That Keep You Alive
Blocking and dodging are not interchangeable, and treating them as the same button is one of the most common reasons players lose health they did not need to lose. Blocking absorbs damage at a stamina cost; dodging avoids damage entirely at a positioning cost.
The 1.0 changelog notes that blocking now uses camera direction, which makes guard feel more responsive than it did during early access. That change rewards players who keep their camera pointed at the threat instead of locking onto a target behind them.
| Situation | Better Option | Why |
|---|---|---|
| Single telegraphed hit | Parry | Free stagger window |
| Rapid multi-hit combo | Dodge out | Blocking drains stamina fast |
| Surrounded by three enemies | Dodge to reposition | Blocking only covers one angle |
| Projectile at range | Block or parry | Cheaper than closing distance |
| Boss slam with shockwave | Dodge sideways | Blocking still takes chip damage |
Stamina Management During Long Fights
Every block, dodge, and sprint draws from the same stamina bar, and an empty bar means you cannot escape the next hit. Managing that bar is effectively managing your health, because a player with no stamina is a player with no options.
-
Keep at least one dodge worth of stamina in reserve at all times during boss fights.
-
Do not chain three blocks in a row — block, step back, let the bar tick up, then re-engage.
-
Eat stamina-boosting food before long encounters rather than mid-fight.
-
If your bar is under a quarter, disengage and circle instead of trading hits.
Stamina discipline is covered in more depth in the stamina and rested buff guide, which explains how sleep and meals interact with your recovery rate. Combining that routine with a larger health pool gives you a build that forgives small errors without rewarding reckless play.
Building Focus So You Can Heal Mid-Fight
Focus is Enshrouded's in-combat healing resource, and it is the single most important reason a big health pool stays full. You generate focus by landing hits and by parrying, then spend it to restore health without leaving the fight. This is why parry and health are linked systems rather than separate topics. A player who parries well generates focus quickly, converts it into healing, and effectively extends their health pool far beyond its listed number. Consider a concrete case: a shield build sitting at 800 max health can parry a Hollow Halls enemy's telegraphed overhead swing, bank roughly a quarter of a focus bar per successful parry, then immediately channel that focus into a heal that restores 150-200 health. Over a sustained fight, chaining three or four parries between enemy combos can effectively add 500+ health of sustain without ever touching a potion — meaning your real survivability is your parry timing multiplied by your focus economy, not just the number on your character sheet.
| Focus Source | Generation Speed | Best For | Notes |
|---|---|---|---|
| Landing melee hits | Steady | Melee builds | Scales with attack speed |
| Successful parries | Fast burst | Shield builds | Rewards timing skill |
| Ranged hits | Slower per shot | Ranger builds | Safe but slower |
| Spell damage | Moderate | Battlemage builds | Depends on mana uptime |
| Taking damage | Minimal | Nobody | Not a real strategy |
Focus for Melee vs Ranged Builds
Melee builds generate focus fastest because every swing that connects adds to the bar, and parries add a burst on top. The tradeoff is that melee players take more hits, so the focus they generate often goes straight back into healing.
Ranged and battlemage builds generate focus more slowly but take less damage, which means their focus tends to accumulate for emergency heals rather than constant top-ups. A bow user who lands a headshot from outside the enemy's aggro range gains focus without ever entering the block-and-dodge loop, so the bar rarely dips below the threshold needed for a clutch heal. Battlemages sit between the two extremes: casting spells builds focus at range, but swapping into melee for a few hits accelerates the gain, letting them bank a reserve while still keeping enemies at arm's length. Both approaches work, but they demand different habits — ranged players should treat focus as a savings account for emergencies, while battlemages can afford to spend it more freely since they generate it from two sources at once.
-
Melee: parry aggressively, heal often, stay in the pocket.
-
Ranged: bank focus for emergencies, reposition instead of trading.
-
Battlemage: alternate spells and melee to keep both bars moving.
Spending Focus Without Wasting It
The most common focus mistake is healing at 90 percent health because the bar is full and the player feels obligated to spend it. That heal is wasted, and the focus will not be there when a real emergency arrives.
-
Heal only below roughly 60 percent health unless a boss phase is about to start.
-
Save a full focus bar before entering a boss arena, then spend it during the second phase.
-
Do not heal during a stagger window — use that window for damage instead.
-
If you are at full health with full focus, you are wasting generation; take a hit on purpose only if it opens a better position.
Combat Tips That Tie Health, Parry and Focus Together
Individual systems only pay off when they run as one loop. The loop looks like this: parry to avoid damage and generate focus, spend focus to heal through chip damage, and rely on your health pool as the buffer that keeps the loop alive when a parry misses.
Players who internalize this sequence stop thinking about health as a number to raise and start treating it as a resource to manage. The practical payoff shows up in how you spend your Flame Altar upgrade points: once the loop is automatic, dumping points into Constitution for raw HP stops being the default, because a larger pool only matters if you can refill it. A Juggernaut stacking health to facetank Fell enemies still needs focus generation from parries to top up between trades, while a Ranger sitting at medium health can afford to ignore Constitution entirely and let emergency heals cover mistakes. That shift — valuing recovery uptime over the size of the bar — is what makes late-game Shroud runs survivable.
| Build Type | Health Priority | Parry Reliance | Focus Usage |
|---|---|---|---|
| Juggernaut melee | High | High | Frequent small heals |
| Ranger | Medium | Low | Emergency heals only |
| Battlemage | Medium | Medium | Heals between spell rotations |
| Hybrid | High | Medium | Balanced, flexible |
Common Mistakes That Get Players Killed
-
Ignoring armor upgrades while chasing weapon damage, leaving a large pool with no mitigation behind it.
-
Holding block permanently instead of timing parries, which drains stamina and breaks guard at the worst moment.
-
Healing too early and running dry during a boss's second phase.
-
Fighting above your tier in the Shroud without checking whether your health pool can survive two hits.
-
Skipping food buffs before a boss attempt, which removes a free layer of durability.
Scaling Your Build Into Late Game
As you push into higher-tier regions, enemy damage scales faster than most players expect. The fix is not to stack health endlessly but to keep health, mitigation, and focus generation moving together. A build with 400 health and no parry discipline dies faster than a build with 300 health and clean timing.
The 1.0 changelog also rebalanced weapon gems, with the Gem of Toxic Reaction scaling from roughly 21 percent damage at level 10 up to around 65 percent at level 50 according to the official Enshrouded news feed. Higher damage means shorter fights, and shorter fights mean fewer chances to take damage — an indirect survivability boost that pairs well with a solid health pool.
Frequently Asked Questions
What is the fastest way to increase max health in Enshrouded?
The quickest route is upgrading your chest armor to the current tier while spending early skill points on flat health nodes. Chest pieces carry the largest single health roll, and flat nodes give immediate value before percentage multipliers become worthwhile. Combine both and your pool grows within a single play session.
Does parrying actually help me survive, or is dodging safer?
Parrying negates damage completely and generates focus, which you can convert into healing. Dodging avoids damage but generates nothing. Against single telegraphed attacks, parry is strictly better; against fast multi-hit combos, dodging out is safer because blocking drains stamina quickly.
How do I build focus faster during boss fights?
Land consistent melee hits and parry whenever the boss telegraphs a slow attack. Parries produce a burst of focus, while normal hits add steadily. Ranged builds generate focus more slowly, so they should bank it for emergency heals rather than spending it on chip damage.
Should I stack health or damage first?
Stack enough health to survive two hits from your current tier's enemies, then invest in damage. A pool that dies in one combo makes damage irrelevant, but an enormous pool with low damage drags fights out and creates more chances to take hits. Balance both around your tier.
Do food and sleep buffs affect max health?
Food and rested buffs primarily affect stamina, mana, and combat efficiency rather than raw max health, though they indirectly improve survivability by keeping your defensive options available. Eating before a boss attempt and sleeping for the rested bonus gives you more stamina for blocking and dodging.
The health, parry, and focus loop is the backbone of every durable Enshrouded build. Raise your pool through armor and skill nodes, protect it with clean parry timing and disciplined stamina use, and keep it topped up by converting focus into mid-fight healing. Get those three systems working together and the Shroud stops being a death sentence.