
Survivors
Enshrouded survivors and NPC guide: where each craftsperson waits in the Shroud, what their workshop unlocks, and how assistants and villagers differ from the core six.
Introduction
The survivors you pull out of the Shroud are the closest thing Enshrouded has to a research tree, and treating them as collectibles misses the point entirely. Each rescued craftsperson installs at your base, opens a workshop chain, and hands you a quest line that unlocks further recipes — the practical effect is that a rescue is worth more than a level. The core roster covers the Blacksmith for the forge and smelter tiers, the Alchemist for spells and reagents, the Carpenter for building and furniture, the Hunter for ranged gear and animal materials, the Farmer for crops and combat buffs, and the Collector for collection systems. Assistants and villagers fill out a settlement without adding new crafting tiers of their own, which makes them decoration with benefits rather than progression. You place survivors with a Summoning Staff and decide where each one stands, so a well-planned settlement puts workshops near storage and keeps the traffic paths short. Because the first six arrive in the starting region, the rescue chain is the fastest route into the mid game.
Craftsperson Reference
| Craftsperson | Workshop Line | What It Unlocks | Priority |
|---|---|---|---|
| Blacksmith | Forge and smelter | Charcoal Kiln, Forge, Smelter, Blast Furnace | Highest |
| Alchemist | Alchemy | Grinding Stone, Mortar, Alchemy Station, Laboratory | High |
| Carpenter | Building | Kiln, Table Saw, Decoration Workbench | High |
| Hunter | Ranged gear | Hunting tools and animal material processing | Medium |
| Farmer | Kitchen | Seedbed, Cooking Station, Oven, Beehive | Medium |
Craftsperson Dossiers
Blacksmith Oswald Anders
The highest-value rescue in the game, because his chain gates most weapon tiers
Alchemist Balthazar
Spells, reagents and the workshop line every caster build depends on
Carpenter Cade Hawthorn
The whole building and furniture chain, including the comfort-buff furniture
Hunter Athalan Skree
Ranged gear and animal material processing for bow builds and leatherwork
Farmer Emily Fray
The kitchen line that converts crops into the food buffs powering every hard region
Core Mechanics
Survivor progression runs through three layers. Locating a survivor is the first, and most of them sit inside Shroud-heavy or high-level ground, so the rescue itself is a combat and fog-budget problem rather than a simple fetch. Installing them is the second, and it requires a Summoning Staff plus a decision about placement, because each survivor occupies a spot you choose and their workshop needs space and access to storage. Completing their quest line is the third, and this is where the real unlocks sit: installing the Blacksmith gets you a workshop, but finishing his requests is what opens the later furnace tiers. Assistants and villagers are a separate category that adds life and services to a settlement without extending the crafting tree, so a base with six craftspeople and a dozen villagers is functionally complete even if it keeps growing. Because placement is manual, a settlement's ergonomics are a design choice; clustering workshops around a magic chest wall is what makes remote crafting actually usable.
Advantages
The survivor system gives Enshrouded's exploration a purpose beyond loot, because every region you scout is potentially hiding a craftsperson who unlocks a whole equipment tier. A rescue is a bigger capability jump than several levels, and because survivors can be found early, a low-level player who focuses on rescues can craft gear that peers without them cannot touch. The placement system is also more generous than it first appears, letting you arrange a settlement around how you actually play rather than forcing a fixed blueprint. Assistants and villagers give the base a lived-in quality without demanding progression resources, which makes decorative building feel rewarded rather than pointless. Quest lines attached to each craftsperson supply a steady stream of objectives that double as recipe unlocks, so following them is rarely wasted time.
Challenges
The clearest frustration is that several craftspeople sit in genuinely hostile ground, which means a player who dislikes combat or is short on fog time cannot simply opt out of the rescue chain and craft their way forward. Because installations require a Summoning Staff and manual placement, a base can also develop awkwardly if you install people before planning where workshops should live, and rearranging later costs effort. Villager and assistant contributions are cosmetic enough that some players find the distinction from craftspeople arbitrary. Documentation is also uneven: the full names of every survivor are not consistently available from official sources, so parts of the roster are documented from community observation rather than published material, and we mark those cases instead of inventing details.
Frequently Asked Questions
How do I rescue survivors in Enshrouded?+
What is the Summoning Staff used for?+
Do assistants and villagers unlock anything?+
Quick Tips
Treat the rescue chain as your main progression activity in the first ten hours. A level is worth two skill points, but a rescued craftsperson opens an entire recipe tier plus a quest line that unlocks more, and those two rewards are not comparable in scale. The Blacksmith alone gates most of the mid-game weapon options, so a player who hunts survivors aggressively will out-gear a player of the same level who grinded enemies instead. The first six wait in the starting region, which means the fastest route out of the early game is right there in the Springlands.
Plan where workshops go before you install anyone. Placement uses the Summoning Staff and each survivor stands where you put them, so a base that grows organically without a layout ends up with the forge on one hill and the storage on another. The arrangement that works is a compact cluster: magic chests on one side, stations on the other, clear ground between them for movement. That layout matters because hand crafting pulls materials from nearby magic chests, and a settlement built around that mechanic effectively extends your crafting range into the field.
Finish each craftsperson's quest line rather than stopping at the install. Installing the Blacksmith gets you a workshop, but the requests that follow are what open the later furnace tiers, and the same pattern runs through every workshop line. Requests focus on materials from regions you already visit, so they rarely send you somewhere unreasonable, and the equipment they unlock usually arrives exactly when the next region starts demanding it. Skipping a quest line because it looks like busywork is the most common way players end up under-geared without understanding why.
Featured
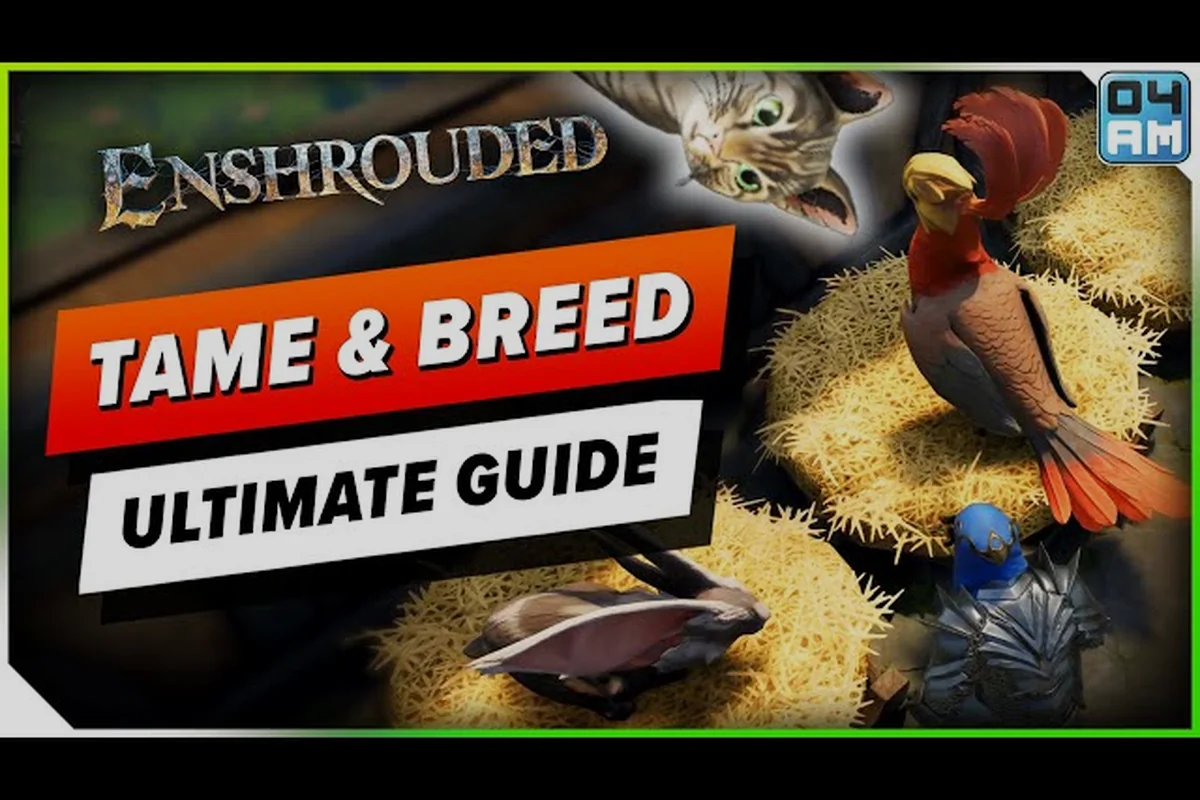
Enshrouded Animal NPCs Guide: Cats, Dogs and Villager Jobs
Adopt cats and dogs with this Enshrouded animal NPCs guide, then assign villager jobs, unlock the Barber, and tweak character proportions at base.

Enshrouded Carpenter Cade Hawthorn: Voiced Quest and Perks
Rescue the Enshrouded carpenter Cade Hawthorn in his fully voiced quest, then unlock the workshop stations that turn raw timber into build-ready blocks.
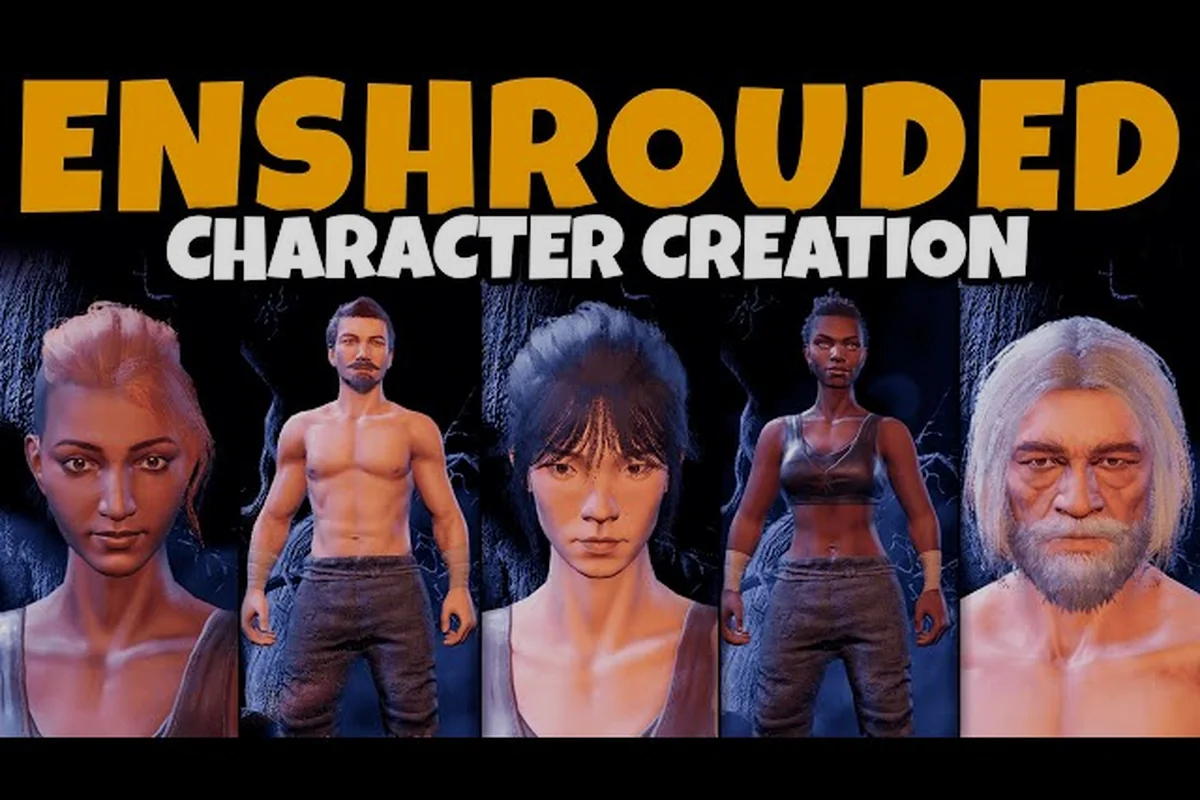
Enshrouded Character Customization Guide: Proportions and Lore
Explore Enshrouded character customization, from classic and realistic proportions to the Barber, then trace the Ancients and the Flame lore behind Embervale.
All Articles

Enshrouded How to Summon NPCs: Staff Ritual and Recipe Unlocks
Learn Enshrouded how to summon NPCs with the staff, then chase the blacksmith, alchemist and survivor quests that hand over rare recipes and rewards.
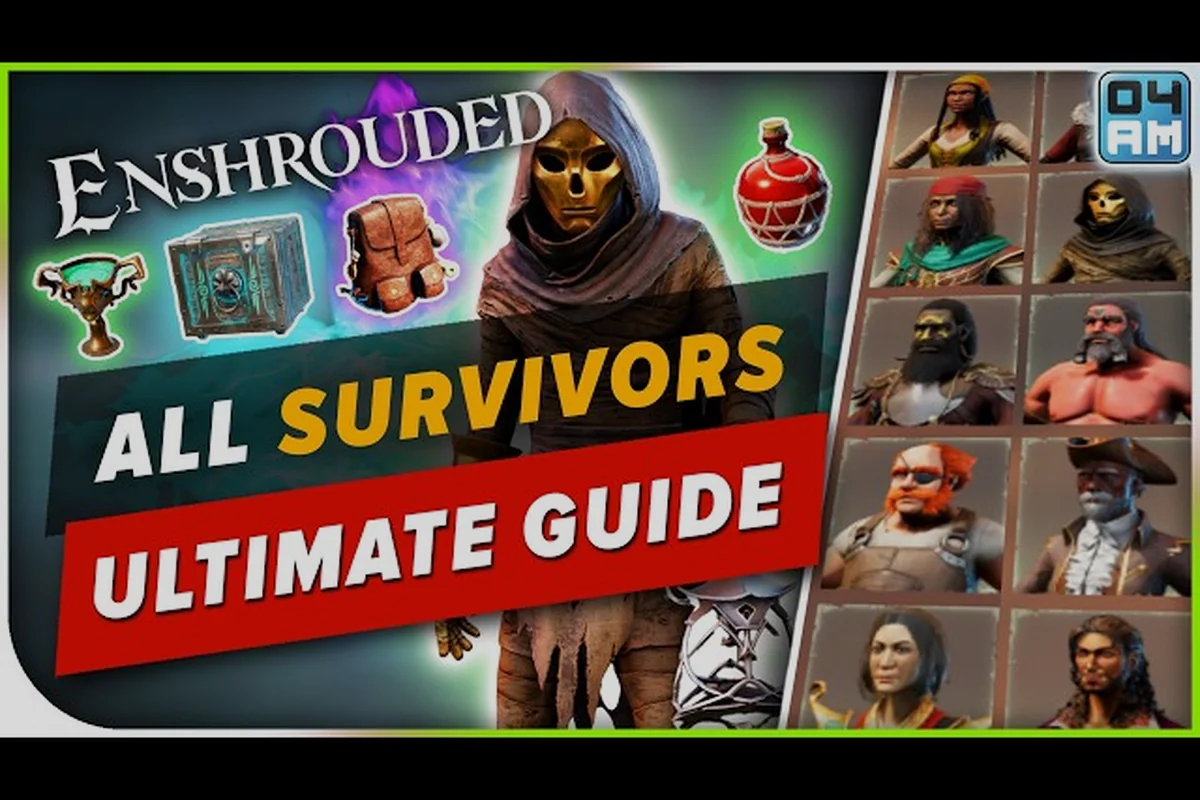
Enshrouded Survivors Guide: Rescue NPCs and Unlock Craftspeople
Discover every survivor in Enshrouded, where to rescue them, and which craftspeople like Oswald Anders and Balthazar unlock your best recipes.

Enshrouded Where to Find the Carpenter, Hunter and Farmer
Track down every Enshrouded survivor fast: where to find the carpenter, hunter, farmer, collector and bard, plus how NPC housing keeps them crafting.