
Classes
Every Enshrouded class build explained: the Warrior, Ranger and Mage talent trees, all twelve specialisations, skill point sources and the respec rules that keep your plan flexible.
Introduction
Enshrouded has no locked classes, and that single design choice is what makes its build system interesting. There are only three talent branches — Warrior, Ranger and Mage — but each one holds four specialisations, and skill points can be spent anywhere regardless of what you picked before, so the twelve specialisations are really a menu of modifiers rather than a commitment. A player who wants a two-handed bruiser who also throws fireballs can simply buy both, at the cost of progressing more slowly along each branch. The Flame Altar's respec station is what keeps this honest: resetting your whole tree costs one Rune per skill point spent, which is meaningful early and almost trivial once you are salvaging mid-game loot. Skill points arrive from three sources rather than one, since levelling grants two per level while each destroyed Shroud Root adds a point and every cleared Elixir Well adds three. That means exploration is a build resource, and a player who ignores the map will feel permanently behind on points.
Talent Branches and Specialisations
| Branch | Specialisations | Playstyle | Tier |
|---|---|---|---|
| Warrior | Tank, Warrior, Barbarian, Athlete | Blocking, parries and heavy melee trades | S |
| Ranger | Assassin, Ranger, Beastmaster, Survivor | Daggers, bows, pets and stamina economy | A |
| Mage | Trickster, Wizard, Healer, Battlemage | Staves, wands, summons and area damage | S |
| Hybrid | Any mix across all three branches | Battlemage bruisers, wand tanks, bow-plus-pet builds | A |
Branch Breakdown
Warrior Branch
Tank, Warrior, Barbarian and Athlete — blocking, parries and heavy trades
Ranger Branch
Assassin, Ranger, Beastmaster and Survivor — daggers, bows, pets and mobility
Mage Branch
Trickster, Wizard, Healer and Battlemage — staves, wands, summons and area damage
Skill Point Economy
Where your points actually come from, and why exploration is a build resource
Core Mechanics
Skill points come from levelling at two per level, from destroying Shroud Roots at one point each, and from clearing Elixir Wells at three points each, so a player who only fights and never explores will have a materially weaker tree at the same character level. Each branch is organised around a different resource: Warrior nodes reward stamina discipline and blocking, Ranger nodes lean on critical strikes and mobility, and Mage nodes trade survivability for burst and area coverage. The specialisations inside a branch are not exclusive, which is why hybrid builds are common rather than exotic. Where the system gets interesting is at the edges — a Battlemage picking up Warrior mitigation to survive melee range, or an Assassin borrowing Ranger mobility to reposition between stun windows. Respeccing at the Flame Altar costs one Rune for every point you have spent, so experimenting is affordable in the mid game and expensive in the first few hours. Because the 1.0 cap sits at level fifty, a finished character has spent a known quantity of points and endgame builds are about allocation rather than volume.
Advantages
The freedom to mix branches means no build is ever locked out of a mechanic, and no patch can invalidate a character outright because the respec station is always available at your base. Players who like optimising get a genuinely deep sandbox: twelve specialisations, three branches' worth of passive trees and a hybrid space where unusual combinations often outperform the obvious ones. Players who just want to hit things get a clear default path through the Warrior branch that works without any theorycrafting. Because skill points come from exploration as well as levelling, taking a detour to destroy a Shroud Root is never wasted time, which makes the game's reward structure unusually forgiving for completionists. Combat also gives visible feedback through the stun and focus meters, so you can tell whether a build is coming together before you have finished it.
Challenges
The main cost of Enshrouded's flexibility is decision fatigue. Because nothing is locked, a new player can spread points thinly across three branches and end up with no functional build at all, and the game does not warn you when you do it. Respeccing solves the problem but costs Runes, which are scarce in the first hours when a bad spread hurts most. Some specialisations are also clearly stronger than others depending on whether you play solo or in a group, so advice that works for a four-player party may be misleading for someone playing alone. The system's opacity does not help: the tooltips describe effects but not the underlying formulas, so several community-tested conclusions about how stats scale are still being confirmed. Finally, the 1.0 mage rework changed enough numbers that pre-launch build guides are actively misleading in places.
Frequently Asked Questions
Are classes permanent in Enshrouded?+
How do I get more skill points?+
Which Enshrouded class is best for solo play?+
Quick Tips
Do not spread your first twenty points across all three branches. Each branch has a breakpoint where its core passive unlocks, and a build that is halfway into all three gets none of them. Pick one branch, commit until its defining talent is online, and only then start buying utility from the others. The respec station exists precisely because this advice is easy to ignore and expensive to ignore badly, and one Rune per point is a real cost when you are still in the starting region with almost nothing salvaged.
Treat Shroud Roots as skill points with a timer rather than optional collectibles. Each one you destroy adds a permanent skill point and extends how long you can operate inside the fog, which is two progression systems improved by a single action. Elixir Wells are even better value at three points apiece, though they usually sit deeper in hostile territory and demand a real combat plan before you commit. A player who routes a session around two roots instead of an hour of open-world grinding will simply have a stronger character at the same playtime.
Learn what your focus meter is actually for before you spend it. Focus accumulates on any weapon and fuels that weapon's special attack, but the special and the merciless attack compete for the same fight window in practice. Against trash mobs, spending a charge to speed up a clear is fine. Against a boss, you want the meter available the moment the stun bar fills, because a merciless attack landed during Overpowered does dramatically more than the same charge spent earlier at random.
Featured
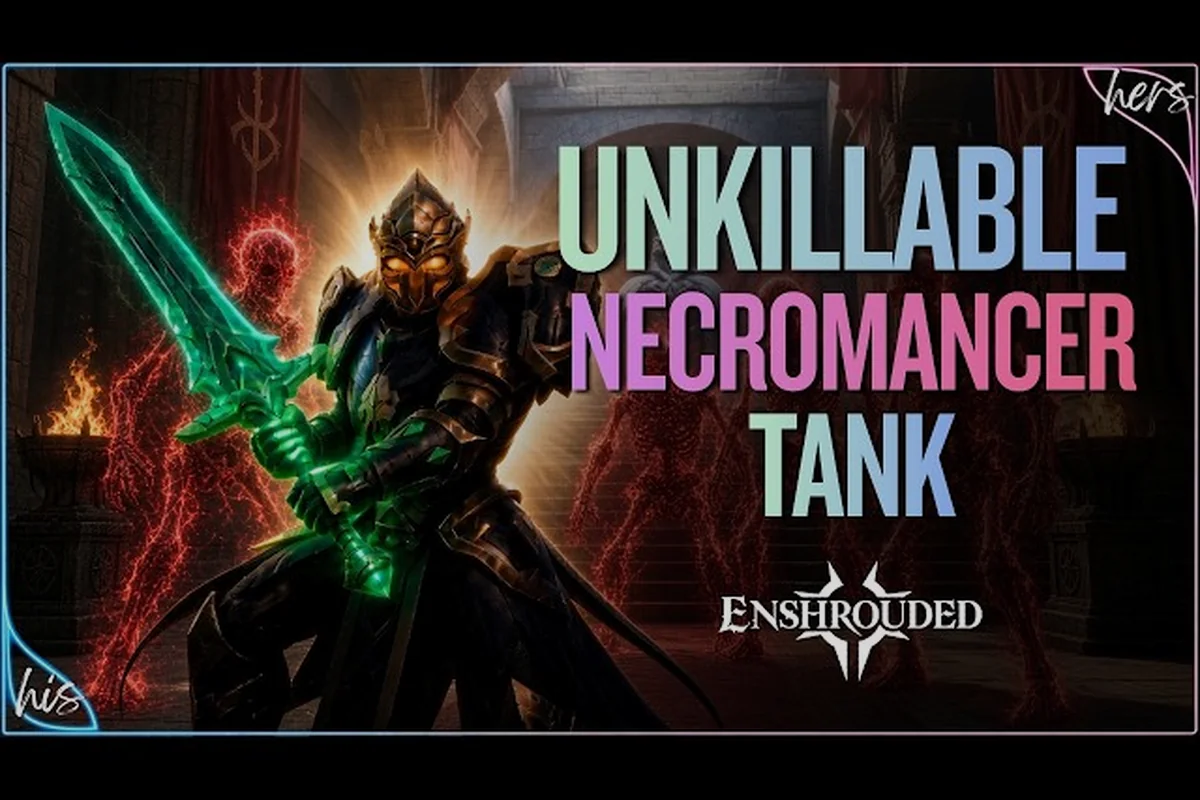
Enshrouded Best Class for Co-op: Roles and Team Builds
Pick the Enshrouded best class for co-op by weighing tank, support and damage roles, plus the weapon skills that keep a squad alive.
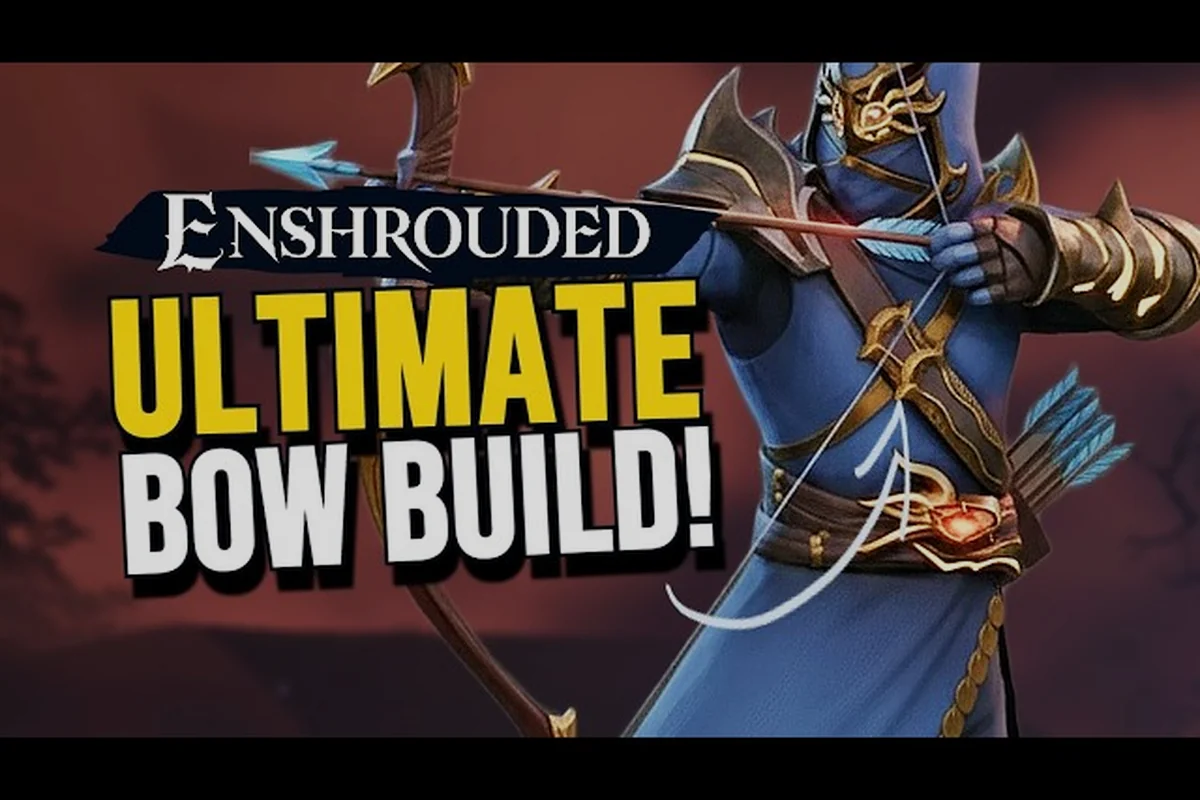
Enshrouded Best Ranger Build: Bow, Stealth and Skill Points
Master the Enshrouded best ranger build with bow skills, stealth perks and the point spread that keeps you lethal from a distance.

Enshrouded Best Skills to Unlock First: Early Skill Points
Learn the Enshrouded best skills to unlock first, how skill point allocation works, and when a respec is worth the cost for your build.
All Articles
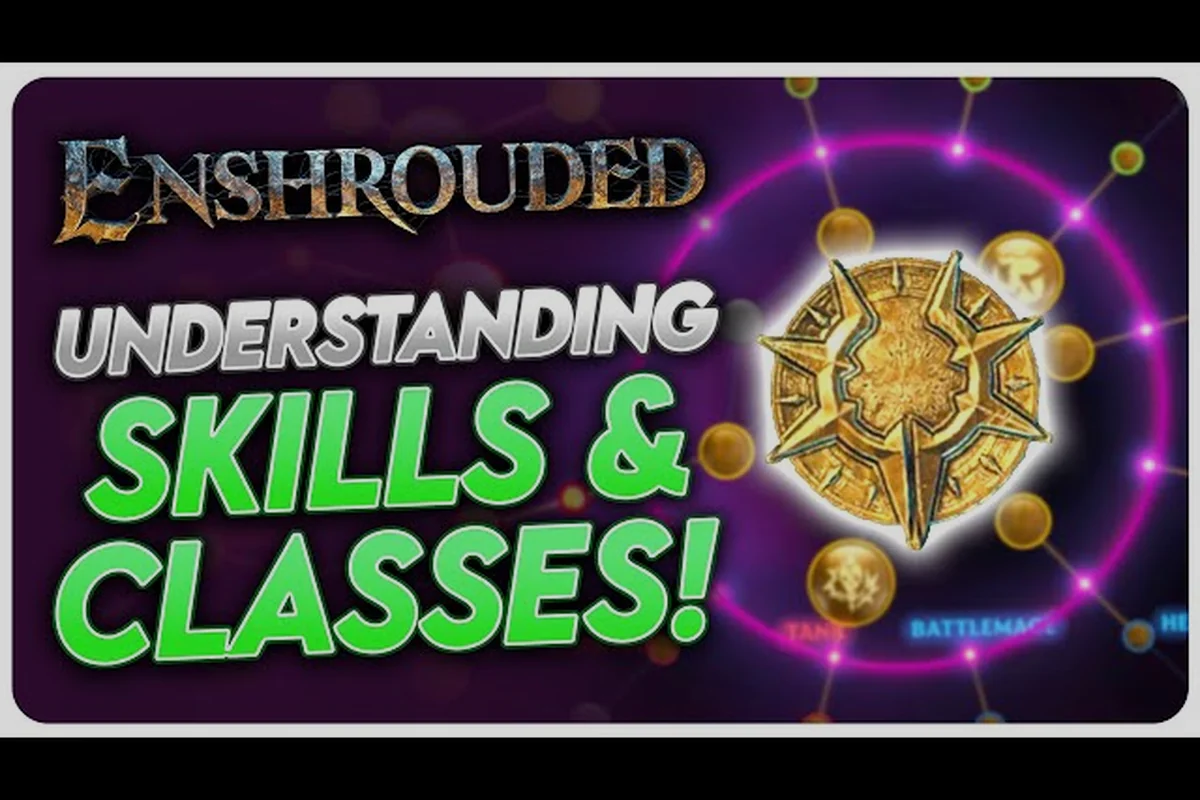
Enshrouded Class Guide: Archetypes, Skill Tree and 1.0 Changes
Understand the Enshrouded class guide basics: how the skill tree, archetypes and 1.0 rebalance shape your Flameborn build before you commit points.
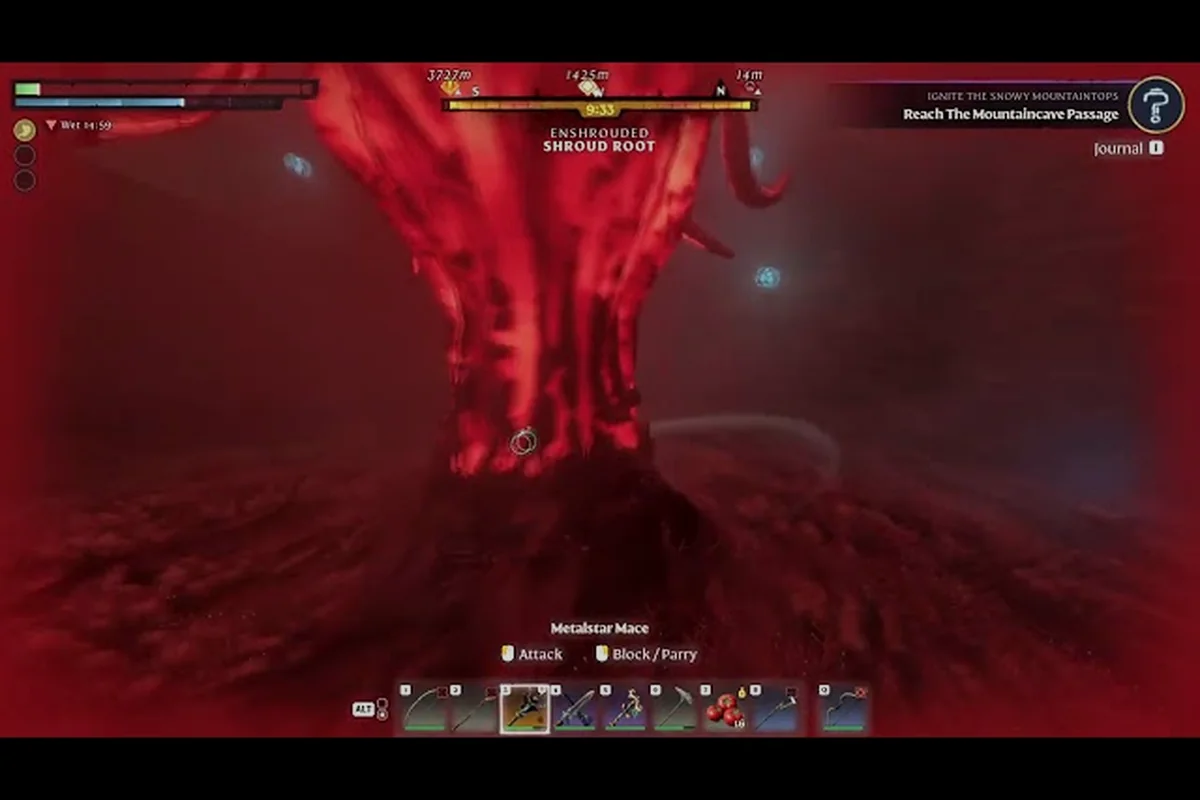
Enshrouded How to Get More Skill Points: 1.0 Respec Costs
Find out how to get more skill points in Enshrouded, what the 1.0 talent tree reset costs, and how to plan a level 50 endgame build that survives the rebalance.
Enshrouded Magic Build Guide: Wand, Staff and Crit Scaling
Discover the Enshrouded magic build guide: wand and staff scaling, crit and stamina trade-offs, and the skills that make casting hit hard.
Enshrouded Trickster Build Guide: Assassin and Summoner Paths
Explore the Enshrouded trickster build guide, blending assassin stealth with necromancy summons and the skill nodes that make both work.