
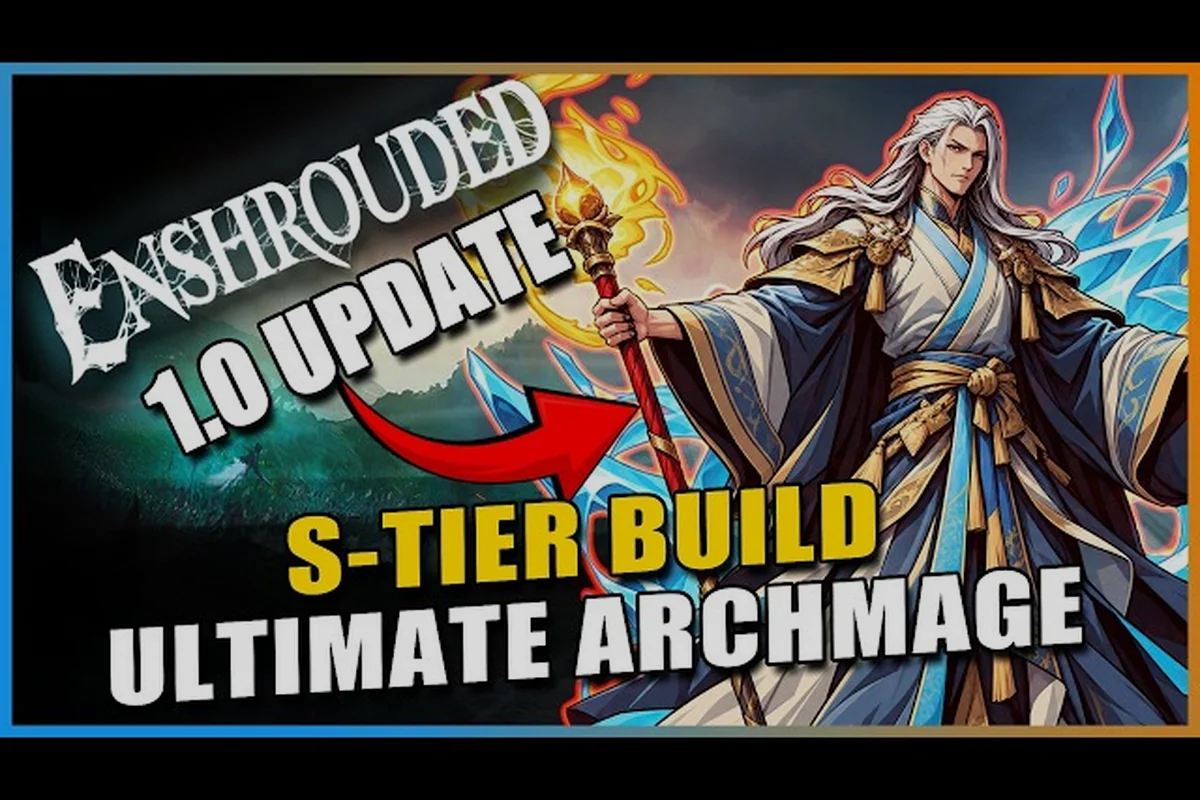
Casting in Enshrouded looks simple until your mana bar empties mid-fight and your wand starts hitting like a wet noodle. This Enshrouded magic build guide fixes that by showing how wand and staff scaling, crit chance, and stamina economy actually interact, so every point you spend lands on damage instead of dead weight.
How Wand and Staff Scaling Actually Works
Magic damage in Enshrouded is not one number. It is a stack of multipliers that pull from different sources, and understanding which source feeds which spell is the difference between a build that clears Shroud nests and one that stalls out. The Battlemage branch of the skill tree is the backbone here, but it is not the whole story.
Wands and staves behave differently at a mechanical level. A wand fires fast, low-cost projectiles that scale primarily off Intelligence and benefit heavily from crit and attack speed. A staff channels slower, heavier spells that scale off Intelligence plus flat spell power, which makes them ideal for opening a fight or nuking a cluster of enemies. Community testing on r/Enshrouded consistently reports that hybrid wand-plus-staff setups outperform pure single-weapon casting once you pass the mid-game.
The 1.0 skill tree rebalance changed the math in a meaningful way. According to the Enshrouded 1.0 release notes on Steam, unlock costs were reduced and many skill effects were buffed, while new active and passive skills such as Aerial Wand Attack, Wand Evasion Attack, Blast and Cast, and Puncture were added. That means the ceiling for a casting build is higher than it was in early access, but the floor is also less forgiving if you ignore the new nodes.
| Damage Source | Primary Scaling | Best Weapon | Notes |
|---|---|---|---|
| Wand projectile | Intelligence + crit | Fast wand | Cheap, spammable, scales with attack speed |
| Staff channel | Intelligence + spell power | Heavy staff | High burst, long cast, mana-hungry |
| Elemental effect | Intelligence + element bonus | Either | Fire, ice, and shock resistances matter |
| Crit multiplier | Crit chance + crit damage | Wand-focused | Diminishing returns past ~60% crit |
The practical takeaway: build Intelligence first, layer crit second, and treat raw spell power as a bonus rather than a foundation. Players who stack flat spell power early usually hit a wall around level 20 because their crit and attack speed never caught up.
Intelligence as the Damage Floor
Every point of Intelligence raises your base magic damage, and it also feeds the mana pool that keeps your rotation alive. Most community builds settle between 30 and 40 Intelligence before branching into crit or stamina nodes, because below that threshold your staff channels feel sluggish and your wand chip damage cannot keep pace with enemy health scaling in the Shroud.
Elemental Matchups Matter
Enshrouded enemies carry elemental resistances, and ignoring them costs you a huge chunk of effective damage. Fire melts most organic enemies, ice locks down fast movers, and shock punishes grouped targets. Swapping your staff element before a boss attempt is often worth more than any single skill point.
Crit, Stamina, and the Trade-Off Nobody Mentions
Here is where most casting builds quietly fail. Crit chance and crit damage are the biggest raw damage multipliers available to a mage, but chasing them without watching stamina leaves you unable to dodge, sprint, or reposition. An Enshrouded crit build and an Enshrouded stamina build are not opposites — they are two halves of the same survivability equation.
Stamina governs far more than sprinting. Dodging, jumping, gliding, and even some weapon actions draw from the same pool, so a mage who dumps everything into crit will find themselves rooted in place when a boss winds up a slam. The fix is not to abandon crit but to budget for it deliberately.
| Stat Priority | Allocation Range | Why It Matters |
|---|---|---|
| Intelligence | 30–40 points | Base magic damage and mana pool |
| Crit chance | 40–60% | Best damage-per-point until soft cap |
| Crit damage | 150–200% | Multiplies every crit you land |
| Stamina | 15–20 points | Dodge, sprint, and reposition budget |
| Constitution | 10–15 points | Prevents one-shot deaths in the Shroud |
The soft cap on crit chance is real. Community reports suggest that past roughly 60% crit chance, additional points deliver noticeably less value than equivalent investment in crit damage or Intelligence. If you are running an Enshrouded ranged build guide style setup with a wand, that soft cap arrives faster because wand attack speed generates more crit rolls per second.
Why Stamina Is a Damage Stat
Stamina is a damage stat in disguise. Every dodge you cannot afford is a cast you lose, and every reposition you skip is a channel you interrupt. Treating stamina as a defensive afterthought is the single most common mistake in casting builds, and it is why so many players plateau in the mid-game.
Reading the Soft Caps
Soft caps are not hard walls. You can push past them, but the return per point drops sharply. The smart move is to hit the cap, then redirect points into the next multiplier in the chain — usually crit damage, then elemental bonuses, then raw spell power.
Skill Tree Priorities for Casters
The Enshrouded skill tree is large, and the Battlemage branch competes with Ranger and Juggernaut nodes for your limited points. A focused caster should treat the tree as a priority list rather than a buffet. The Enshrouded class guide breaks down how the archetypes overlap, but for a pure caster the order below is the one that pays off fastest.
The new 1.0 nodes changed the optimal path. Aerial Wand Attack and Wand Evasion Attack give wand users real mobility options that did not exist before, while Blast and Cast rewards the staff-then-wand rhythm that hybrid builds rely on. Puncture and Barrage are more ranged-focused, but a caster dipping into them for utility is not wasted points if you already have your core online.
| Priority | Node | Effect | When to Take |
|---|---|---|---|
| 1 | Intelligence passives | Raises base magic damage | Levels 1–15 |
| 2 | Crit chance nodes | Improves crit frequency | Levels 10–25 |
| 3 | Mana regeneration | Sustains long fights | Levels 15–30 |
| 4 | Wand Evasion Attack | Mobility while casting | After core crit |
| 5 | Blast and Cast | Staff-to-wand combo bonus | Mid-game hybrid |
| 6 | Stamina nodes | Dodge and sprint budget | Whenever survivability dips |
Early Game: Levels 1–15
Front-load Intelligence passives and grab the cheapest mana regeneration node you can reach. Your goal in this window is a stable rotation, not peak damage. A caster who can cast continuously beats one who hits harder but runs dry after three spells.
Mid Game: Levels 15–30
This is where crit chance and the new mobility nodes come online. Wand Evasion Attack in particular changes how you fight, because it lets you reposition without fully disengaging. Pair it with a stamina buffer and your survivability jumps noticeably.
Polishing Multipliers Past Level 30
Late game is about polishing multipliers. Crit damage, elemental bonuses, and any remaining Intelligence nodes round out the build. If you are playing solo, an Enshrouded solo class guide mindset applies here: you cannot rely on a tank to hold aggro, so your stamina and Constitution budgets matter more than they would in a group.
Building Around Stealth and Positioning
An Enshrouded stealth build is not just for rogues. Casters benefit enormously from stealth because it lets you open fights with a full staff channel instead of a panicked wand spray. The Trickster and Ranger branches offer stealth-adjacent nodes that a mage can borrow without abandoning the Battlemage core.
The logic is simple. A staff channel takes time, and time is exactly what stealth buys you. Opening from stealth means your first hit lands at full multiplier, often before the enemy has closed distance. That single advantage frequently decides whether a Shroud encounter is a clean clear or a messy retreat.
| Approach | Opening Damage | Risk Level | Best For |
|---|---|---|---|
| Stealth staff opener | Very high | Low | Solo play, single targets |
| Wand spam from range | Moderate | Low | Groups, fast enemies |
| Hybrid staff-to-wand | High | Medium | Bosses, elite packs |
| Aggressive close-range | High | High | Confident players only |
If you want to lean further into stealth and mobility, the Enshrouded trickster build guide covers the assassin and summoner angles that pair well with a caster who prefers to strike first and vanish.
Positioning Beats Raw Stats
Positioning beats raw stats more often than players expect. Standing on high ground, using terrain to break line of sight, and pre-casting before enemies round a corner all multiply your effective damage without costing a single skill point. In practice, this means opening every fight from a raised ledge so your Mage's Fireball arcs over the Fell enemies' melee range, then ducking behind a boulder to break their aggro line while your mana regenerates. A well-placed Blink roll into a flanking angle also lets a stealth build land its first crit from behind, converting a single cast into a kill rather than a trade.
When to Open With a Staff
Open with a staff whenever the target is unaware or clustered, because the staff's charged heavy attack delivers roughly 2.5x the damage of a wand bolt and its splash radius punishes groups that bunch up around a spawner or patrol path. Save the wand for cleanup and for enemies that dodge or close distance fast, since its lower stamina cost per cast lets you kite and finish stragglers without draining the bar you need for a blink escape. This rhythm — staff for the opening burst, wand for the fade — is the core of every strong hybrid caster, and it pairs naturally with the crit scaling on a stealth opener that lands before the enemy ever turns around.
Sustaining Mana, Food, and the Rested Buff
Mana is the resource that gates your entire rotation, and no amount of crit will save you if the bar is empty. Food, sleep, and the rested buff are the three levers that keep a caster casting through long Shroud runs, and they are easy to neglect.
The Enshrouded sleep and rested buff guide details how the rested buff and food stack, but the short version is that both raise your effective stamina and mana economy. Eating before a boss attempt is not optional for a caster — it is the difference between a two-phase kill and a wipe.
| Sustain Source | Effect | Duration | Priority |
|---|---|---|---|
| Rested buff | Stamina and regen bonus | Until next sleep cycle | High |
| Cooked food | Stamina and health boost | Timed | High |
| Mana potions | Instant mana refill | Instant | Situational |
| Mana regen nodes | Passive regen | Permanent | Core |
Food Choices for Casters
Casters want food that boosts stamina and mana economy rather than raw melee damage. Cooked meals that raise maximum stamina let you dodge more, which in turn lets you cast more. It is a chain reaction, and it starts at the cooking pot.
Managing the Mana Bar
Watch your mana bar the way a melee player watches health. Running dry mid-channel is the most common cause of death for casters, and it is entirely preventable with a potion timing habit and a couple of regen nodes.
Casting Build Traps That Waste Points
Even experienced players fall into the same traps when building a mage, and recognizing them early saves hours of retooling. Most of these mistakes trace back to one root cause: treating Intelligence and raw spell damage as the only stats that matter. In practice, a Fireball build that dumps every point into damage nodes will still stall against the Fell Wispwyvern because its mana pool empties after four casts, forcing a wand-only fallback that deals a fraction of the staff's output. The fix is to treat your build as a rotation, not a single spell — stamina keeps you mobile during boss slams, mana regen nodes sustain the staff, and crit investment past roughly 60% crit chance yields diminishing returns that are better redirected into crit damage. Skipping elemental swaps compounds this, since resistant enemies in the Kindlewastes will cut your damage in half without a backup staff.
| Mistake | Symptom | Fix |
|---|---|---|
| Ignoring stamina | Rooted during boss slams | Allocate 15–20 points |
| Over-stacking crit chance | Diminishing returns past 60% | Shift to crit damage |
| Skipping mana regen | Dry bar mid-fight | Take regen nodes early |
| Pure wand or pure staff | Weak in mixed fights | Build hybrid |
| No elemental swaps | Damage falls off vs. resistant enemies | Carry multiple staves |
The official official Enshrouded Steam page describes the skill tree as deep and branching, and that depth is exactly why a focused plan beats scattered points. Every node you take that does not feed your casting rotation is a node you cannot spend on damage or survivability.
Over-Investing in One Weapon Type
Pure wand builds stall against high-health targets because the wand's low per-cast damage can't out-pace boss health pools before your stamina drains, while pure staff builds struggle against fast movers since long charge-up windows leave you exposed to quick flanking enemies. The hybrid rhythm — staff to open at range, wand to finish once the target closes distance — covers both weaknesses with almost no extra investment, letting you swap mid-fight without respeccing or losing your crit build's momentum.
Neglecting Constitution
A dead mage deals zero damage, and no amount of Intelligence scaling saves a build that gets one-shot before it can cast. Ten to fifteen points in Constitution is cheap insurance against the burst damage that Shroud elites and bosses love to open with — think of the Fell Wispwyvern's dive or a Shroud-touched scavenger ambush, both of which punish glass-cannon casters who dump every point into Intelligence. Because Constitution also feeds your maximum HP pool that Water Aura and Healing Channel scale against, those points double as sustain: a mage sitting at roughly 300–400 HP survives the opener, drinks a potion, and keeps channeling Fireball or Ice Bolt instead of respawning at the Flame Altar. For a solo class guide, that survivability margin is the difference between clearing a Shroud root and losing the run.
Frequently Asked Questions
What is the best stat priority for an Enshrouded magic build?
Start with 30–40 Intelligence for base damage and mana, then push crit chance toward the 60% soft cap before investing in crit damage. Keep 15–20 points in stamina for dodging and 10–15 in Constitution so you survive burst hits. This order keeps your damage scaling smoothly without leaving you fragile.
Do wands or staves deal more damage?
Staves hit harder per cast and are ideal for openers and clustered enemies, while wands deal less per hit but fire fast and scale well with crit and attack speed. Most community builds run both, opening with a staff channel and finishing with wand spam for the best overall damage uptime.
Is an Enshrouded crit build viable for solo play?
Yes, but only if you budget stamina and Constitution alongside crit. Solo casters cannot rely on a tank to hold aggro, so mobility and survivability nodes matter more than they do in a group. A crit-focused mage with a stamina buffer clears solo Shroud content comfortably.
How do I stop running out of mana mid-fight?
Take mana regeneration nodes early, keep cooked food active for the stamina and regen bonus, and sleep regularly to maintain the rested buff. Carry mana potions for emergencies and avoid chaining long staff channels back to back without a wand phase in between to let regeneration catch up.
Can a stealth build work with magic?
Absolutely. Stealth lets you open with a full staff channel at maximum multiplier before enemies close distance, which often decides an encounter outright. Borrowing a few stealth-adjacent nodes from the Trickster branch pairs well with a Battlemage core and costs very little in raw casting power.
Casting in Enshrouded rewards planning more than reflexes. Lock in Intelligence as your damage floor, respect the crit soft cap, and never treat stamina as an afterthought — that trio carries a mage from the first Shroud nest to the final boss. Build the hybrid rhythm, keep food and rest active, and your wand and staff will hit harder than most melee setups ever manage.