
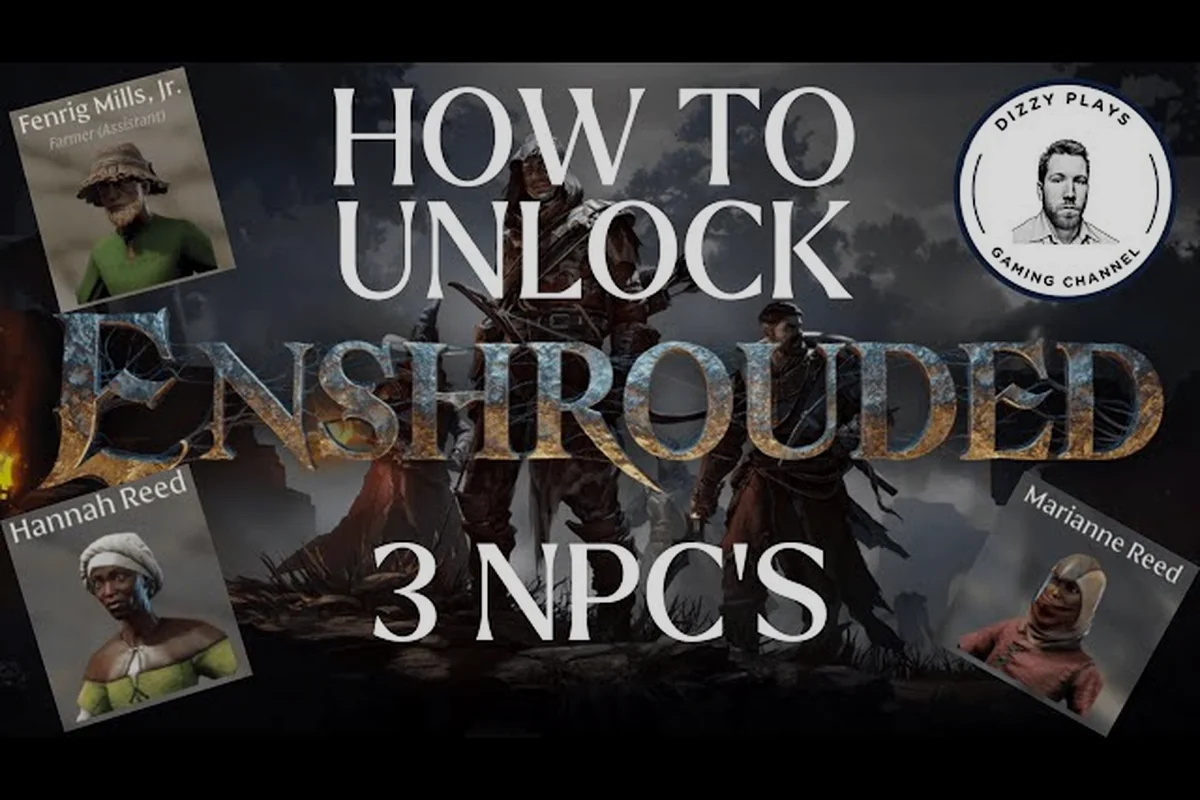
Learning Enshrouded how to summon survivors is the single fastest way to turn a lonely campfire into a working settlement, because every rescued craftsman unlocks new recipes, storage upgrades and skill options. This guide walks you through the summoning staff, the rescue quests, and the storage systems that keep your base running.
The core loop is simple: find a survivor trapped in the Shroud, free them, then summon them back to your base with the staff. What trips most players up is the order of operations and the hidden chests that hold the materials you need. Get those right and your base snowballs quickly.
What the Summoning Staff Unlocks
The summoning staff is the tool that pulls a rescued survivor from the wilds into your base. You do not craft it from scratch at the start; instead, you unlock it through the Flameborn progression as you complete early rescue objectives. Once it is in your inventory, you can target any survivor you have already freed and call them to your Flame Altar.
Here is the practical breakdown of how the staff interacts with your save: the summoning staff is a permanent key item rather than a consumable, so it never leaves your inventory and never demands Shroud Cores, Resin, or any other resource when you trigger a summon. Each call simply checks two flags in your save file — whether the target survivor is marked as rescued in the quest log, and whether an active Flame Altar sits within range — then teleports that NPC to the altar's buildable radius. Because there is no cooldown timer and no material cost, you can chain-summon your entire rescued roster in one session, which is why the staff doubles as a base-relocation tool whenever you abandon a starter altar for a better biome.
| Action | Requirement | Result |
|---|---|---|
| Craft summoning staff | Complete first rescue quest | Staff added to inventory |
| Target a freed survivor | Survivor must be rescued first | Survivor teleports to base |
| Re-summon after death | Staff stays in inventory | No material cost |
| Summon to a new altar | Altar must be active | Survivor relocates |
The staff itself has no durability and no material cost to use, which means you can freely re-summon survivors whenever you move your base. That flexibility matters because many players relocate their Flame Altar once they find a better biome.
A common mistake is trying to summon a survivor you have not actually rescued yet. The staff only works on survivors who are already flagged as freed in your quest log. If the summon fails, check your quest tracker before assuming the tool is bugged. The Flame Altar size and upgrade guide explains how altar placement affects where summoned survivors can actually stand and work, since a cramped altar zone can block crafting stations from being placed.
Where to Find the First Survivor
Your first rescue target is usually the Blacksmith, found in a ruined structure near the starting region. The Shroud around these rescue points is thin, so you can sprint in, break the cage or interact with the trapped NPC, and get out before your Shroud timer runs dry.
Community reports suggest the first rescue takes most players under ten minutes if they beeline to the marker, though that window assumes you already have the Wooden Club or a basic melee weapon equipped and at least one Bandage crafted. Do not stop to fight every enemy; the goal is the survivor, not the loot. The reason speed matters here is the Shroud timer — lingering in the Shroud drains your maximum health and stamina, so a prolonged detour to farm Shroud Wood or clear a Scavenger camp can leave you too weakened to survive the trek back to your Flame Altar. Once the Blacksmith is freed, he unlocks the Blacksmith's Workshop, letting you craft the Forge and begin summoning the other survivors.
Why Summoning Order Matters
Summoning survivors in the wrong order can stall your progression because some recipes depend on earlier craftspeople. The Blacksmith unlocks metal tools, which you need before the Alchemist's advanced recipes become practical. Prioritize the Blacksmith, then the Alchemist, then the Hunter.
The Full Survivor Rescue Checklist
Each survivor follows the same three-step pattern: locate the marker, clear the Shroud pocket, and free the NPC. The differences are in the environment and the enemies guarding them. Below is a comparison of the main survivors and what they bring to your base.
| Survivor | Role Unlocked | Key Reward | Difficulty |
|---|---|---|---|
| Blacksmith | Metal tools and armor | Forge recipes | Low |
| Alchemist | Potions and elixirs | Healing brews | Medium |
| Hunter | Ranged gear | Bow crafting | Medium |
| Carpenter | Wood building | Furniture sets | Low |
| Farmer | Crops and seeds | Food production | Medium |
The Blacksmith is almost always your first summon because metal tools gate everything else — without a Forge you are stuck on flint and scrap weapons, and you cannot smelt the Copper and Tin ore that later Shroud pockets demand. The Alchemist comes next for survivability, since her Healing Brews and potions are what let you push into higher-level Shroud zones without dying to the fog timer. The Hunter rounds out your combat options with ranged weapons, unlocking the Bow and arrows that keep you out of melee range against the tougher guardian mobs. Prioritizing this trio first also pays off because their rescue markers sit in Low-to-Medium difficulty Shroud pockets, so you can chain all three before your gear even needs upgrading. If you are still mapping the world, the shrouded areas and deadly fog guide covers how Shroud pockets behave and where the safe edges are, which directly affects how fast you can reach each rescue marker.
Step-by-Step Rescue Process
- Open your quest log and track the survivor marker
- Travel to the marker, watching your Shroud timer
- Clear the immediate enemies around the cage
- Interact with the trapped survivor to free them
- Return to base and use the summoning staff
- Assign the survivor to a crafting station
Following this order prevents the most common failure, which is freeing a survivor and then dying to Shroud exposure before you can summon them. The summon works from anywhere, so you do not need to escort them home on foot.
Common Rescue Mistakes
Players often waste time fighting optional enemies inside the Shroud instead of pushing straight to the survivor. Others forget to place a crafting station before summoning, which means the survivor arrives with nowhere to work. Place the station first, then summon.
Storage and Magic Chests Explained
Once survivors are working, your base fills with materials fast, and that is where the storage and magic chests guide becomes essential. Regular storage chests hold a fixed number of slots, while magic chests let crafting stations pull materials remotely, so you no longer have to carry every ingredient in your inventory.
The 1.0 update changed how this works in a meaningful way, according to the Keen Games' Enshrouded news hub. Regular 24-slot storage chests and magic chests can now be crafted earlier in progression, storage chests can be converted into magic chests and upgraded in place without emptying them first, chests can be freely named, and magic chests let crafting pull materials remotely.
| Chest Type | Slots | Remote Crafting | Upgrade Path |
|---|---|---|---|
| Storage Chest | 24 | No | Convert to magic chest |
| Magic Chest | Larger | Yes | Upgrade in place |
| Named Chest | Varies | Depends on type | Rename anytime |
The in-place conversion is the headline change. Before, you had to empty a chest, destroy it, and rebuild it as a magic chest. Now you convert it directly, which saves a huge amount of shuffling once your base has dozens of containers.
Naming chests sounds cosmetic, but it is a genuine quality-of-life upgrade. Label one chest "Ores," another "Food," and a third "Building Blocks," and you stop digging through identical containers mid-craft. The payoff scales with base size: with the 1.0 naming change, a magic chest tagged "Ores" still feeds your forge remotely while you sort by label instead of opening every 24-slot container. On a large base with dozens of chests, that labeling turns a multi-minute material hunt into a two-second glance, which matters most when you are mid-build and do not want to break flow to hunt for a single stack of Shroud Wood or Resin.
How Remote Crafting Changes Your Routine
With magic chests, you can stand at a crafting station and pull ingredients from any linked magic chest in range. That means you can keep raw materials in a storage room and never carry them to the workbench. The magic chests and building blocks guide digs into which materials are worth dedicating to remote storage versus keeping on your character.
Chest Placement Tips
Keep magic chests close to your crafting stations so the remote pull radius covers them. Spread storage chests around the base for overflow, and convert the ones nearest your workbenches first, since those are the containers you access most often during a build session.
How to Find Hidden Chests in the Shroud
Hidden chests are the best source of rare materials, and learning how to find them efficiently saves hours of grinding. Shrouded areas regenerate their loot over time, so a chest you emptied yesterday may be full again today, which makes Shroud runs a repeatable resource loop rather than a one-time event.
The Shroud is a thick layer of fog covering parts of Embervale, and according to the the Enshrouded page on Wikipedia, shrouded areas are dangerous and filled with hostile monsters, and a player can only stay inside for a limited time before the character dies. Those same areas hold valuable loot and treasure chests that regenerate regularly, which is exactly why Shroud time is a resource to plan around rather than a hazard to ignore.
| Chest Location Type | Loot Quality | Respawn Behavior |
|---|---|---|
| Ruined buildings | Medium | Regenerates over time |
| Shroud pockets | High | Regenerates over time |
| Ancient structures | Very high | Slower respawn |
| Spire and obelisk sites | High | Regenerates over time |
The ancient structures hold the best loot but also the toughest enemies, so bring gear that matches the region. The secrets and hidden areas guide maps out where these points of interest cluster, which helps you chain several chest runs into one efficient trip.
Reading the Environment for Chest Clues
Chests tend to sit inside structures rather than in open fields, so scan for walls, collapsed roofs and doorframes. A glowing marker or a cluster of enemies often signals a chest nearby, because the game tends to guard loot with at least a small encounter.
Timing Your Shroud Runs
Plan your route before you enter the fog. Know your exit point, know your timer, and prioritize the highest-value chest first. If you are running low on Shroud time, leave the low-tier chests and come back later rather than risking a death.
Death Penalty and Why It Shapes Your Strategy
Understanding the death penalty changes how aggressively you play, because dying inside the Shroud costs more than just time. The penalty is tied to your progress and your carried resources, so a careless death during a chest run can undo an hour of gathering.
The practical takeaway is that Shroud time is a resource, and the death penalty is the tax you pay for mismanaging it. Players who treat the fog as a countdown rather than a playground lose far less loot over a full playthrough.
| Situation | Risk Level | Recommended Prep |
|---|---|---|
| Quick chest grab | Low | Know your exit |
| Deep Shroud exploration | High | Full gear and potions |
| Nighttime Shroud run | Very high | Avoid unless geared |
| Boss encounter in fog | Extreme | Bring a group |
The safest habit is to bank your loot at base before pushing deeper. If you are carrying rare materials and your Shroud timer is half gone, turn back. The chest will still be there, and the regenerating loot means nothing is permanently lost.
Reducing Death Risk
Carry healing items, keep your gear repaired, and never enter the Shroud without a clear route out. If you play co-op, the the Enshrouded Steam listing notes that the game supports up to 16 players, so a group can split the risk by having one player hold the exit while others loot.
When to Accept the Risk
Sometimes the loot is worth the gamble, especially early on when a single rare chest can unlock a crafting tier. Weigh the value of what you are carrying against what you stand to gain, and only push deeper when the math favors you.
Putting It All Together: A Practical Walkthrough
A clean early-game route looks like this: rescue the Blacksmith, summon them, build a forge, then convert your first storage chest into a magic chest so crafting pulls materials automatically. From there, chain Shroud runs for hidden chests while keeping an eye on your timer and death risk.
This sequence works because each step feeds the next. The Blacksmith unlocks the tools you need to survive deeper Shroud pockets, magic chests remove the inventory juggling that slows down crafting, and hidden chests supply the rare materials that push your gear forward.
If you want the broader narrative context behind the Flameborn and the fallen kingdom, the lore and story explainer covers the Ancients and the Flame, which makes the rescue quests feel less like busywork and more like rebuilding a lost world.
A Sample First-Hour Plan
- Rescue and summon the Blacksmith
- Build a forge and a workbench
- Craft a storage chest, then convert it to a magic chest
- Run one Shroud pocket for hidden chest loot
- Bank everything before your timer runs low
Following this plan gets you a functioning base with remote crafting inside the first hour, which is the point where the game stops feeling like a survival scramble and starts feeling like a settlement you control. The payoff is concrete: once the Blacksmith is summoned and stationed at your altar, you can craft and upgrade gear directly from the magic chest's shared inventory instead of hauling ore to a distant workbench. That single change removes the two biggest early friction points — inventory juggling and long walks — so your next Shroud pocket run is spent looting hidden chests, not backtracking. It also front-loads your death penalty buffer: banking everything before the timer expires means a wipe costs you time, not the rare materials you just pulled out of the Shroud.
Scaling Up After the First Survivors
Once the Blacksmith, Alchemist and Hunter are all summoned, your base can support advanced crafting, potions and ranged gear. At that stage, dedicate a storage room to magic chests and name each one by material type so your crafting stations always have what they need.
Frequently Asked Questions
How do I summon a survivor in Enshrouded?
Free the survivor at their rescue marker first, then use the summoning staff from your inventory to call them to your active Flame Altar. The staff costs no materials and has no durability, so you can re-summon survivors freely whenever you relocate your base.
Do magic chests let me craft without carrying materials?
Yes. Magic chests allow crafting stations to pull ingredients remotely, so you can leave raw materials in storage and still craft at any linked station. The 1.0 update also lets you convert a regular storage chest into a magic chest in place without emptying it first.
What happens when I die in the Shroud?
Dying inside the Shroud applies a death penalty tied to your progress and carried resources, so a careless death during a loot run can cost you a chunk of gathered materials. Bank your loot at base before pushing deeper into the fog.
Where are the best hidden chests?
Ancient structures and Shroud pockets hold the highest-quality loot, and these chests regenerate over time, which makes repeat Shroud runs worthwhile. Scan ruined buildings and guarded areas, and plan your exit before your Shroud timer runs low. Because the death penalty scales with carried resources, bank your haul at a Flame Altar before re-entering, and use the summoning staff to call a rescued survivor back to that altar so you can offload loot and reset your route without losing progress.
Can I summon survivors to a different base?
Yes. As long as you have an active Flame Altar at the new location, you can use the summoning staff to relocate any survivor you have already rescued. This makes moving your base between biomes far less punishing than it first appears.