
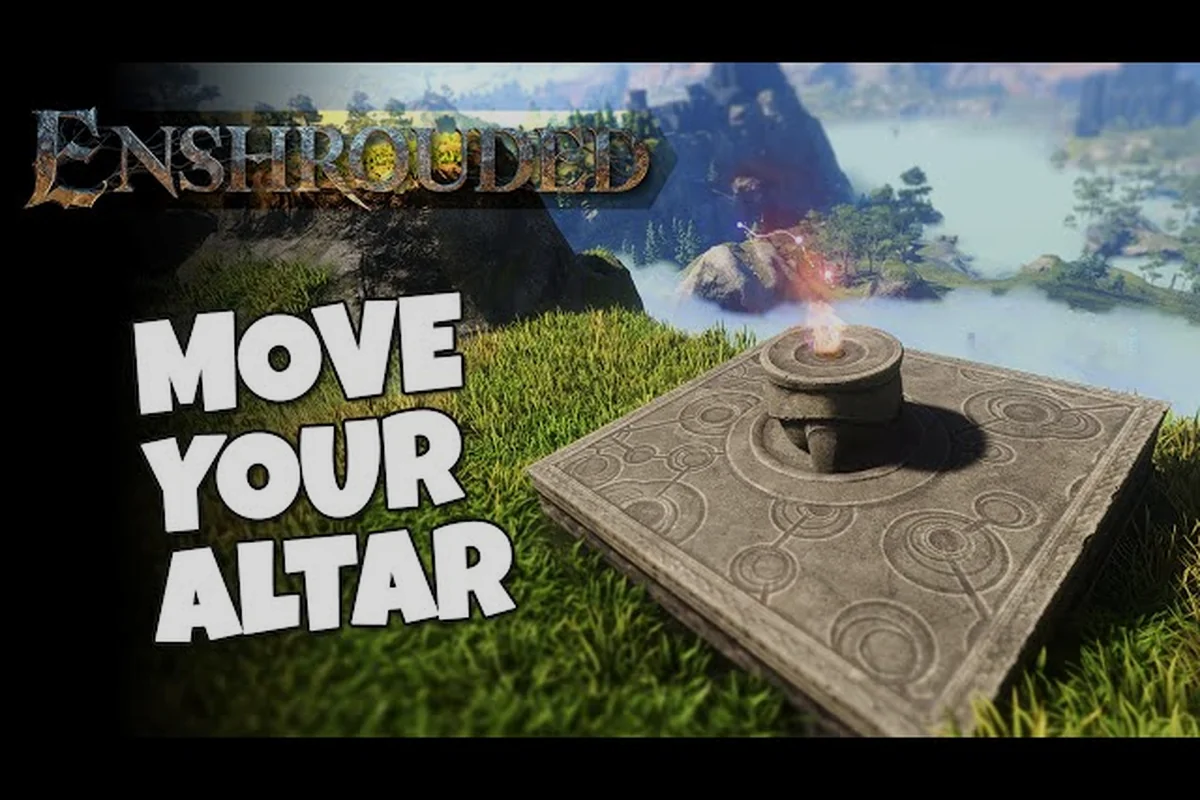
Every base in Embervale lives or dies by its Flame Altar, and the size upgrade is what turns a cramped camp into a real settlement. Strengthening the flame raises your build radius, unlocks extra altar placements, and quietly gates how much storage you can cram inside your walls. Get the upgrade order right and your whole base-building pipeline speeds up.
Why the Flame Altar Size Upgrade Comes First
The Flame Altar is the anchor of every player-built structure, and its level determines three things at once: the radius you can build inside, the total number of altars you can place in the world, and which crafting tiers your survivors can support. According to the official Enshrouded 1.0 changelog, unlocking Flame level 11 raises the maximum number of Flame Altars in the world to 16, and most areas previously flagged as no-build zones are now fully open for player bases.
That last change matters more than it sounds. In earlier builds you could find a perfect cliffside spot only to discover a hard no-build boundary cutting through it. The 1.0 update removed most of those invisible walls, so the practical limit on where you build is now your flame level rather than the map itself.
A second 1.0 tweak rewards steady upgrading: flame upgrades now automatically unlock the armor sets of the following crafting tier, so you no longer miss recipes by skipping a resource or a quest. If you have ever wondered why a crafting station refused to offer a set you expected, a stalled flame level was usually the culprit.
-
Build radius grows with each flame tier, letting you expand walls, farms, and workshops outward.
-
Altar count caps how many separate bases you can maintain across the map.
-
Crafting access unlocks new survivor recipes and armor sets as the flame climbs.
-
No-build zones were largely lifted in 1.0, so terrain is rarely the blocker anymore.
The takeaway is simple: treat the flame as your progression spine, not a decoration you place once and forget. Every Shroud Core and Spark you feed into Strengthen the Flame converts directly into buildable ground, extra altar slots, and higher-tier survivor recipes, so a stalled flame level quietly caps everything downstream — your chest upgrades, your magic chest unlocks, and your storage sorting all wait on crafting tiers the flame has not yet reached. Practically, that means prioritizing flame upgrades over cosmetic builds early pays off twice: you gain the radius to fit more storage chests and workbenches, and you unlock the recipe tiers that make those chests worth placing.
How to Strengthen the Flame Step by Step
Strengthening the flame is a resource puzzle more than a combat challenge. You interact with the altar, open its upgrade panel, and feed it the required materials for the next tier. The early tiers ask for common stone and wood, while later tiers demand shroud cores, shroud elixir, and rare drops pulled from Shroud-infested regions.
Here is the practical loop most players settle into: run a dedicated gathering session for stone and wood until your stockpile clears two or three tiers at once, then pivot to Shroud runs for shroud cores and Shroud liquid before the altar's next requirement locks you out. The reason batching matters is that each flame tier raises the altar's material ceiling — a tier-3 altar will not accept tier-5 reagents, so partial stockpiles sit idle in your chests instead of advancing the flame. Players who upgrade piecemeal often stall at the mid-tiers, where a single shroud core shortfall can freeze progression for an entire play session while the build they started sits half-finished inside a radius that never grew.
-
Bank stone and wood first. Early flame tiers are cheap, and a single mining run through a rocky biome usually covers two upgrades.
-
Farm shroud cores in the Shroud. These drop from Shroud enemies and glowing nodes, and they gate the mid-tier upgrades.
-
Craft shroud elixir at an alchemist. Elixir requires Shroud liquid and other reagents, so keep an alchemist station running before you push a big tier.
-
Upgrade in one sitting when possible. Batching materials avoids the frustration of a half-finished tier blocking a build you already started.
-
Re-check your build radius after each tier. The new boundary often reveals space you assumed was outside your base.
A common mistake is upgrading the flame before you have the storage to hold the new materials you just gathered. That is why the storage side of base-building deserves equal attention, and the storage and magic chests breakdown explains how chest tiers and survivor unlocks fit together.
Reading the Upgrade Panel
When you open the altar, the panel shows the next tier's cost and the benefits it grants. If a material is greyed out, you either have not discovered its source yet or your crafting stations are too low. Hovering the requirement usually names the biome or enemy type, which is a strong hint about where to go next.
Timing Your Upgrades Around Exploration
Pushing flame tiers in lockstep with map exploration keeps your resource flow healthy. Each new biome tends to supply exactly the materials the next flame tier wants, so a natural rhythm emerges: explore, gather, upgrade, expand. In practice this means holding off on a Flame Altar size upgrade until you've cleared the Shroud root near your base — the Shroud Wood and Resin you pull from that push usually covers the tier's cost outright, so you're not farming a separate node just to fund the altar. Skipping ahead to a higher flame tier before unlocking the next biome is the classic trap: you burn through Shroud Cores and Charcoal you'll want later for storage chest upgrades, and the altar sits half-fed while you backtrack. Treat each region's resource spread as the budget for the tier it gates, and the upgrade cadence stays self-funding.
How Many Flame Altars Can You Place?
The altar cap is the question every co-op group asks, because a shared world with four builders fills up fast. Based on the 1.0 changelog, the world supports up to 16 Flame Altars once you reach Flame level 11, up from a much tighter early-game limit. That number is per world, not per player, so a 16-player co-op session shares the same pool.
| Flame Tier Range | Approximate Altar Cap | Typical Use Case |
|---|---|---|
| Early tiers (1–4) | 1–3 altars | Main base plus one forward camp |
| Mid tiers (5–8) | 4–8 altars | Regional outposts and resource farms |
| High tiers (9–10) | 9–14 altars | Dedicated farm, mining, and boss staging bases |
| Max tier (11) | 16 altars | Full network across every biome |
Community reports suggest the exact cap at each intermediate tier can shift slightly between patches, so treat the middle rows as estimates and the level 11 figure as the confirmed ceiling. If you are planning a large co-op settlement, the farm and crafting base layout ideas help you decide whether a single mega-base or a network of outposts suits your group better.
How Many Altars to Place Forward
Where you drop each altar matters as much as how many you have. A forward altar near a mining biome saves hours of hauling, while a coastal altar supports fishing and farming loops. Because altars also act as fast-travel anchors once activated, spreading them across the map doubles as a travel network.
Sharing Altars in Co-op
In co-op, any player can use an activated altar for fast travel, but only players with build permissions can modify structures inside its radius. Decide early whether your group wants shared mega-bases or personal outposts, because reworking permissions later is tedious.
Storage Chests and the Magic Chest Upgrade Path
Storage is the silent bottleneck of every ambitious base. You can have a gorgeous fortress and still spend half your session jogging between chests looking for iron bars. The fix is understanding how chest tiers scale and when to invest in a magic chest.
Standard storage chests come in increasing sizes, and each upgrade multiplies capacity rather than adding a flat amount. Magic chests are the endgame answer: they let crafting stations pull materials directly from storage, which removes the manual restocking chore entirely. If you are still hunting for your first one, the magic chest acquisition guide walks through where they drop and what they cost.
| Storage Option | Capacity Feel | Best For |
|---|---|---|
| Basic wooden chest | Small, single stack groups | Early game, one per material type |
| Reinforced chest | Medium, several stack groups | Mid-game crafting hubs |
| Large storage chest | High, dedicated material wings | Organized mega-bases |
| Magic chest | High plus auto-pull | Any base with active crafting stations |
The upgrade priority is straightforward: get one magic chest per crafting station before you build a fifth decorative tower. Auto-pull saves more time than any cosmetic upgrade ever will. In practice, that means placing a magic chest beside your forge, workbench, and alchemist station so each pulls iron bars, twigs, and reagents without a restock run. Since a single magic chest covers a generous radius, you rarely need more than two or three per crafting hub — far cheaper than the shroud-core grind for another flame altar tier. Spend those cores on strengthening the flame instead.
Organizing Chests by Function
Label or physically separate chests by category: ores, wood, food, and reagents. A short walk between themed storage wings beats a long search through a wall of identical boxes. Players who organize early report far less friction when a big build project starts.
When to Upgrade Storage Chests
Upgrade a chest the moment you find yourself making two trips to deposit one gathering run. That threshold usually arrives around the mid-game, right when your flame tier starts demanding bulk materials like shroud cores and elixir in quantity.
Balancing Flame Upgrades Against Base Expansion
The real skill in base-building is pacing. Flame upgrades, storage upgrades, and physical expansion all compete for the same materials, and dumping everything into one track stalls the others. A balanced approach keeps your settlement functional while it grows.
| Priority | Spend Materials On | Why It Pays Off |
|---|---|---|
| 1 | Next flame tier | Unlocks radius, altars, and crafting sets |
| 2 | One magic chest per station | Removes manual restocking |
| 3 | Themed storage wings | Speeds up every future project |
| 4 | Cosmetic expansion | Safe once logistics are solved |
Notice that cosmetics sit last. A base that looks incredible but forces constant backtracking is a worse home than a plain one that runs itself. Once your flame is high, your altars are spread, and your chests auto-pull, you can decorate without guilt.
Reading Your Own Bottlenecks
Walk through your base and ask what slows you down most: travel time, storage searches, or missing crafting recipes. Each symptom points to a different fix, and the flame tier is usually the root of the crafting one. Fix the bottleneck, not the symptom.
Planning for Co-op Growth
If your group plans to add players, reserve altar slots and storage space for them now. Because the Flame Altar cap is fixed at 16 per world regardless of how far you push the Flame Level upgrade, every new member's outpost permanently consumes one of those slots — and the Enshrouded chest cap scales the same way, so a shared base that already runs 10+ Magic Chests for sorted loot leaves little headroom. A world that hits the 16-altar cap with no room for a new member's outpost forces awkward compromises later, such as demolishing a farming outpost or relocating a Flame Altar just to make space.
According to the Enshrouded 1.0 changelog on Steam, the Flame Altar's size and upgrade mechanics have been adjusted across patches, so players should check the latest notes for the current maximum altar level and the exact material costs required for each expansion.
Where Altar Upgrades Quietly Go Wrong
Most frustration around the flame altar traces back to a handful of avoidable errors, and the cost of each one scales with your altar's tier. A single misclick on the upgrade prompt, for instance, can consume a full stack of Shroud cores and 20+ Shroud wood before you have walls up, leaving you with a larger build radius but nothing to fill it. The altar cap compounds this: once you've placed your maximum number of flame altars, every new placement demands demolishing an existing base, so mapping your territory before the first upgrade prevents a painful teardown later. Knowing these pitfalls in advance saves hours of backtracking and wasted materials.
-
Upgrading the flame before banking materials. You end up with a new tier and no resources to actually build inside the bigger radius.
-
Ignoring the altar cap until it bites. Groups that place altars casually hit the limit mid-project and have to demolish a base to continue.
-
Skipping magic chests. Manual restocking quietly eats hours across a long playthrough.
-
Building in old no-build zones without checking. Even after 1.0 opened most areas, a few boundaries may remain, so test placement before committing a large structure.
-
Neglecting fast travel. Unactivated altars do not help you move around the map, so activate each one as you place it.
The official Enshrouded store page confirms the game supports up to 16 players in co-op, which makes altar and storage planning a genuine group decision rather than a solo afterthought. For a broader look at how the flame system ties into survival and the Shroud, the flame altar and Shroud survival guide covers the mechanics that sit underneath every upgrade.
Frequently Asked Questions
How many Flame Altars can I place in Enshrouded?
Reaching Flame level 11 raises the world cap to 16 altars, according to the official 1.0 changelog. Earlier tiers allow far fewer — you start with just one altar at Flame level 1 and gain additional slots at each subsequent tier — so plan your outposts around that ceiling if you are building a large co-op network. Because every altar also becomes a fast-travel anchor, hitting the level 11 cap effectively gives your group 16 teleport points across Embervale, which is why pushing the Flame to max level pays off long before you finish decorating.
What materials does strengthening the flame require?
Early tiers want stone and wood, while mid and late tiers demand shroud cores and shroud elixir gathered from Shroud regions. Shroud cores drop from Shroud enemies and chests inside the Shroud itself, so you cannot simply buy your way past the material wall — you have to farm inside the fog. Keep an alchemist running so elixir production never becomes the bottleneck blocking your next upgrade; one stalled elixir batch can stall an entire tier jump.
Do flame upgrades unlock crafting recipes automatically?
Yes — and the 1.0 change is more generous than it first sounds. Flame upgrades now auto-unlock the armor sets of the following crafting tier, so skipping a resource node or an optional quest no longer costs you recipes. The practical effect: pushing your Flame to level 11 for the 16-altar cap also hands you the full late-tier armor progression for free, meaning you can prioritize shroud cores and shroud elixir farming over side content without falling behind on gear.
Are magic chests worth upgrading to?
Absolutely. Magic chests let crafting stations pull materials directly from storage, eliminating manual restocking, so one magic chest per active station saves more time than any cosmetic base upgrade you could buy instead. That matters most once your Flame Altar radius is large enough to hold several stations at once: a single magic chest covers a whole crafting row, meaning you can keep pushing shroud cores and shroud elixir toward the next Flame tier instead of hauling stacks between boxes. Pair each chest with a nearby altar so fast travel drops you straight into a fully stocked workshop.
Can I move my Flame Altar after placing it?
You can remove and replace an altar, but doing so can affect structures inside its radius, so test placement carefully first. Activating each altar also adds it to your fast-travel network, which is a strong reason to place them thoughtfully.
The Flame Altar size upgrade is the backbone of every serious Embervale settlement, and the order you strengthen it shapes everything from build radius to storage logistics. Bank your materials, push tiers steadily toward the level 11 cap, spread altars as travel anchors, and invest in magic chests before cosmetics. Do those four things and your base will run itself while you explore.