
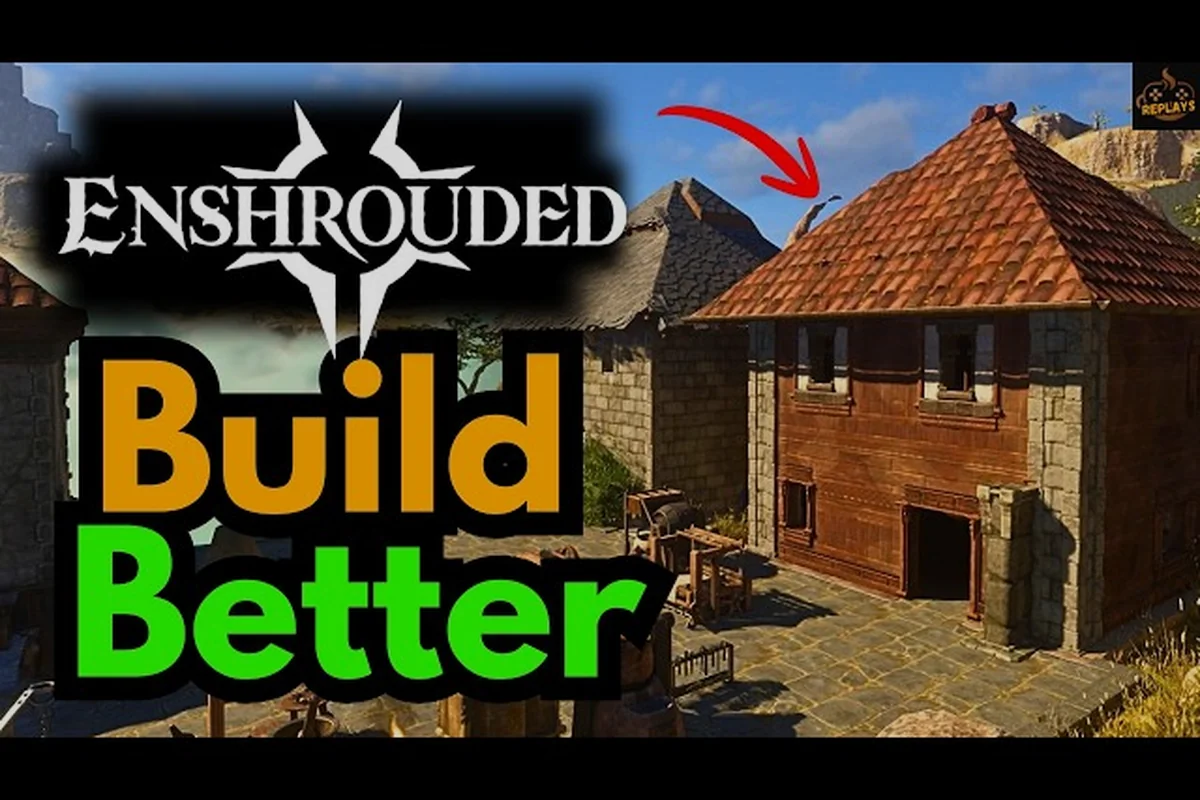
Enshrouded building works on a voxel grid, which means every wall, floor and hillside can be carved or stacked block by block. This Enshrouded building guide walks you through placing a Flame Altar, reshaping terrain and expanding a base that survives the Shroud.
Building rules in Enshrouded shift between patches — Flame Altar radius, block durability and material costs have all been rebalanced since launch, so a base layout that worked in an earlier build can behave differently after an update. Before committing to a large voxel structure, check the Steam's official announcement feed for current building mechanics, material costs and patch notes, then cross-reference the in-game crafting menu, which always reflects the live values your save is running.
Why Voxel Building Changes Everything in Enshrouded
The voxel system is the single biggest reason Enshrouded base building feels different from grid-locked survival games. Every block occupies a small cube of space, so a wall is not a prefab piece — it is a stack of individual voxels you can chip away, extend or recolor. That freedom cuts both ways: it lets you sculpt a cliffside fortress, but it also means a sloppy foundation can leave gaps that enemies and the Shroud exploit.
According to the official Steam store page, Enshrouded is a survival action RPG built around voxel-based building, free terraforming, a grappling hook and glider traversal, and co-op for up to 16 players. The building tools sit at the center of that loop, because your base is where you craft gear, store loot and summon rescued survivors.
A few core facts shape every decision you make: every structure in Enshrouded is assembled from individual voxels on a fine cube grid, which means walls, floors and roofs are only as stable as the blocks beneath them. Because the Flame Altar defines your build radius and doubles as your respawn anchor, its placement determines how far you can terraform, where your crafting stations sit and how quickly you can retreat when the Shroud closes in. The Shroud boundary itself is a hard timer — stay outside a safe zone too long and the fog drains your health — so altitude and distance from the fog matter as much as flat ground does. Rescued survivor NPCs then move into that same footprint and unlock new recipes, which is why a base built for expansion early saves hours of rebuilding later.
-
Voxel grid — blocks snap to a fine cube grid, so curved and angled builds are possible without mods.
-
Free terraforming — you can dig, raise and flatten terrain instead of building around it.
-
Flame Altar — the anchor object that defines your build zone and respawn point.
-
Shroud boundary — the fog limits how long you can stay outside safe zones, so base placement matters.
-
Survivor NPCs — rescued crafters move into your base and unlock new recipes.
If you are still deciding where to plant your first altar, the best base location breakdown covers altitude, resource access and Shroud proximity in detail. For now, understand that the voxel grid rewards planning before you place a single block.
How the Voxel Grid Actually Works
Each voxel is roughly a quarter-meter cube, and the build hammer lets you place, remove or paint them in bulk. When you drag a wall across uneven ground, the game fills voxels up to your cursor height, which is why a foundation trench is faster than stacking blocks one at a time. The grid also means diagonal roofs are made from stepped voxels rather than a single sloped mesh, so a clean roofline takes a little patience.
Where the Build Boundary Actually Ends
Press the build key near your altar and a translucent boundary appears, marking exactly where you can place blocks. Anything outside that line is off-limits until you upgrade the altar. Community reports note that most early-game frustration comes from building past the boundary and watching the game refuse to place blocks, so always check the outline first.
How to Build a Base Step by Step
Learning how to build a base in Enshrouded follows a predictable order, and skipping a step usually costs you materials. The sequence below reflects what experienced players recommend for a first permanent home, from altar placement through to a roofed, defended structure.
| Step | Action | Why It Matters |
|---|---|---|
| 1 | Place the Flame Altar on flat ground | Defines the build zone and respawn point |
| 2 | Level the terrain with the rake tool | Prevents floating foundations and gaps |
| 3 | Lay a stone foundation two voxels deep | Blocks Shroud creep and enemy tunneling |
| 4 | Frame walls with wood or rough stone | Cheap early materials, easy to replace |
| 5 | Add a roof and enclose the interior | Stops rain debuffs and wandering enemies |
| 6 | Place crafting stations and storage | Turns a shelter into a working base |
Start by clearing a footprint at least 12 by 12 voxels — small enough to roof cheaply, large enough for a workbench, forge and storage row. Dig down two voxels and refill with stone so the floor is perfectly flat. Then raise walls to four voxels high; anything taller needs support columns or the roof will feel cramped.
Once the shell exists, bring in your rescued NPCs and give each one a dedicated room. A blacksmith near the forge, an alchemist near the lab, and a cook near the hearth keeps crafting efficient and avoids the long walk between stations that slows mid-game progression.
Choosing Materials That Match Your Tier
Material choice is a progression question, not a style question. Early bases lean on rough stone and wood because they are abundant, while later builds switch to refined blocks that resist fire and look sharper. The table below summarizes the trade-offs.
| Material | Cost | Durability | Best Use |
|---|---|---|---|
| Wood | Very low | Low | Temporary shelters, interior trim |
| Rough Stone | Low | Medium | Foundations, outer walls |
| Refined Stone | Medium | High | Permanent walls, defensive shells |
| Fancy Blocks | High | High | Decorative facades, castle builds |
If you want a deeper look at which blocks hold up best, the building materials and magic chests guide breaks down storage and block tiers side by side. That comparison matters most once you hit the Shroud-adjacent biomes, where refined stone's fire resistance keeps a base standing through a Fell Wispwyvern strafing run that would torch a rough stone shell in seconds. Pair it with the magic chest unlock route so your high-tier Fancy Blocks stay stocked without hauling stacks back to the Flame Altar every trip.
Roofing Without Leaks
A roof is where most first builds fail, because voxel roofs need overlap. Extend each row one voxel past the wall below it so rain cannot slip through the seam, and cap the ridge with a solid line of blocks. Flat roofs are simplest, but a shallow two-step pitch sheds the rain visual effect and looks intentional.
Terraforming Guide: How to Reshape Terrain
The terraforming guide side of Enshrouded is where the voxel engine truly shines, because you are not limited to building on top of the world — you can rewrite it. Digging a cellar, carving a tunnel through a hill, or flattening a plateau for a courtyard all use the same tools, and none of them require special unlocks beyond the build hammer.
To reshape terrain, switch to the rake or terrain tool in your build menu, then drag across the ground to raise or lower voxels in a brush pattern. A single pass moves a shallow layer, so large excavations take several sweeps. Community testing suggests that digging down more than eight voxels starts to feel cramped and dark, so plan cellars around that depth.
| Terraform Task | Tool | Typical Depth | Notes |
|---|---|---|---|
| Flatten a build plot | Rake | 1-2 voxels | Always do this first |
| Dig a cellar | Terrain brush | 4-8 voxels | Add stairs, not ladders |
| Carve a tunnel | Terrain brush | 3-5 voxels | Light it or it stays pitch black |
| Raise a plateau | Terrain brush | 2-4 voxels | Compact before building |
| Cut a moat | Terrain brush | 3 voxels | Slows melee attackers |
Reshaping Terrain Around Natural Features
The smartest terraforming uses the landscape instead of fighting it. If a cliff already sits at your chosen spot, carve a doorway into it and hollow out rooms rather than importing stone from elsewhere. Trees and boulders can be cleared with the terrain tool, but leaving a few as decoration inside a courtyard gives a base character that a flat plot never will.
Drainage and Shroud Edges
Water and Shroud fog both behave oddly against raw voxels. Digging a channel that slopes away from your foundation keeps standing water out of your cellar, and building a raised lip along any edge facing the Shroud slows the fog's spread into your yard. These small terraforming moves cost almost nothing and prevent constant repair work later.
Enshrouded Building Tips for Efficient Bases
These building tips come from player experience across early access and the 1.0 release, and they focus on saving time rather than chasing perfect aesthetics. A base that is fast to build and easy to expand beats a beautiful one you abandon at level 10.
-
Build near resources, not scenery — a quarry or forest within glider range saves hours of hauling.
-
Use the grappling hook to scout rooftops — it reveals gaps you cannot see from ground level.
-
Keep a spare altar kit — outposts let you craft far from home without a long trek back.
-
Light every room — dark interiors hide enemies and make crafting stations hard to find.
-
Leave expansion room — you will add rooms as you rescue more survivors.
-
Paint blocks for wayfinding — color-coded corridors help co-op partners navigate a large base.
The 1.0 changelog on Steam notes that unlocking Flame level 11 raises the maximum number of Flame Altars in the world to 16, and that most areas previously flagged as no-build zones are now fully accessible for player-built bases. That change alone makes sprawling multi-outpost bases far more practical than they were during early access.
Co-op Layout Considerations
With up to 16 players supported, a co-op base needs wider corridors and duplicate crafting stations so nobody queues behind a single forge. Assign each player a wing or a floor, and agree on a shared storage wall early. The farm and crafting base layout guide shows how to zone production, farming and living space so a large group never bottlenecks.
Flame Altar Limits and Upgrades
Your altar is not just a marker — it is a progression gate. Upgrading it expands the build zone radius and, at higher tiers, unlocks additional altars across the map. Prioritize altar upgrades whenever you unlock a new crafting tier, because the changelog confirms that Flame upgrades now automatically unlock the armor sets of the following tier, so you never miss recipes by skipping a resource or quest.
| Flame Tier | Altar Cap | Build Zone | Priority |
|---|---|---|---|
| Early | 1-2 | Small | Place your first home |
| Mid | 4-8 | Medium | Add outposts near biomes |
| Late | Up to 16 | Large | Network the whole map |
Common Building Mistakes to Avoid
Most building problems trace back to a handful of repeatable errors, and fixing them early saves a full rebuild. The biggest is building on unleveled ground, which leaves floating voxels that look fine until you add a roof and discover the walls do not meet. Always flatten first.
The second common mistake is overbuilding before you have the materials. A sprawling stone castle eats hundreds of refined blocks, and if you run out mid-wall you are left with an unfinished shell that is worse than a small finished house. Build a compact core, then expand outward as your stockpile grows.
A third mistake is ignoring vertical space. Voxel bases can go up as easily as out, so a second floor is often cheaper than a wider footprint. Stacking crafting rooms vertically keeps your base inside a smaller build zone, which matters when your altar radius is still limited. Finally, do not neglect defense. Even a peaceful-looking base attracts wandering enemies, and a single unlit doorway is an open invitation. Wall off the perimeter, light the approaches, and keep a chokepoint so you can fight on your terms.
Frequently Asked Questions
How do I start building a base in Enshrouded?
Place a Flame Altar on flat ground to create your build zone, then flatten the terrain with the rake tool before laying any blocks. From there, build a stone foundation two voxels deep, raise walls four voxels high, and roof the structure to keep rain and enemies out.
Can I reshape terrain in Enshrouded?
Yes. The terrain brush and rake tools let you raise, lower and flatten voxels freely, so you can dig cellars, carve tunnels or build raised plateaus. Large excavations take several passes, and digging deeper than about eight voxels tends to feel cramped and dark.
How many Flame Altars can I place?
Early on you are limited to one or two altars, but upgrading your Flame unlocks more. According to the official 1.0 changelog, reaching Flame level 11 raises the world maximum to 16 altars, which makes multi-outpost bases practical for large co-op groups.
What are the best building materials early on?
Rough stone and wood are the best early materials because they are abundant and cheap to replace. Use rough stone for foundations and outer walls, and save refined stone for permanent structures once your stockpile supports it. Decorative blocks come much later.
Do I need to level the ground before building?
Always. Unleveled ground leaves floating voxels and gaps that break your roofline and let the Shroud seep into your base. Flattening the footprint first takes a few minutes and prevents a full rebuild later, which is the single most repeated piece of advice from experienced players.
Building in Enshrouded rewards patience more than raw materials. Level the ground, place your altar, and grow the base in small, finished stages rather than one giant unfinished shell — that approach keeps your build zone manageable and your crafting loop running smoothly from the first night through to a networked set of late-game outposts.