
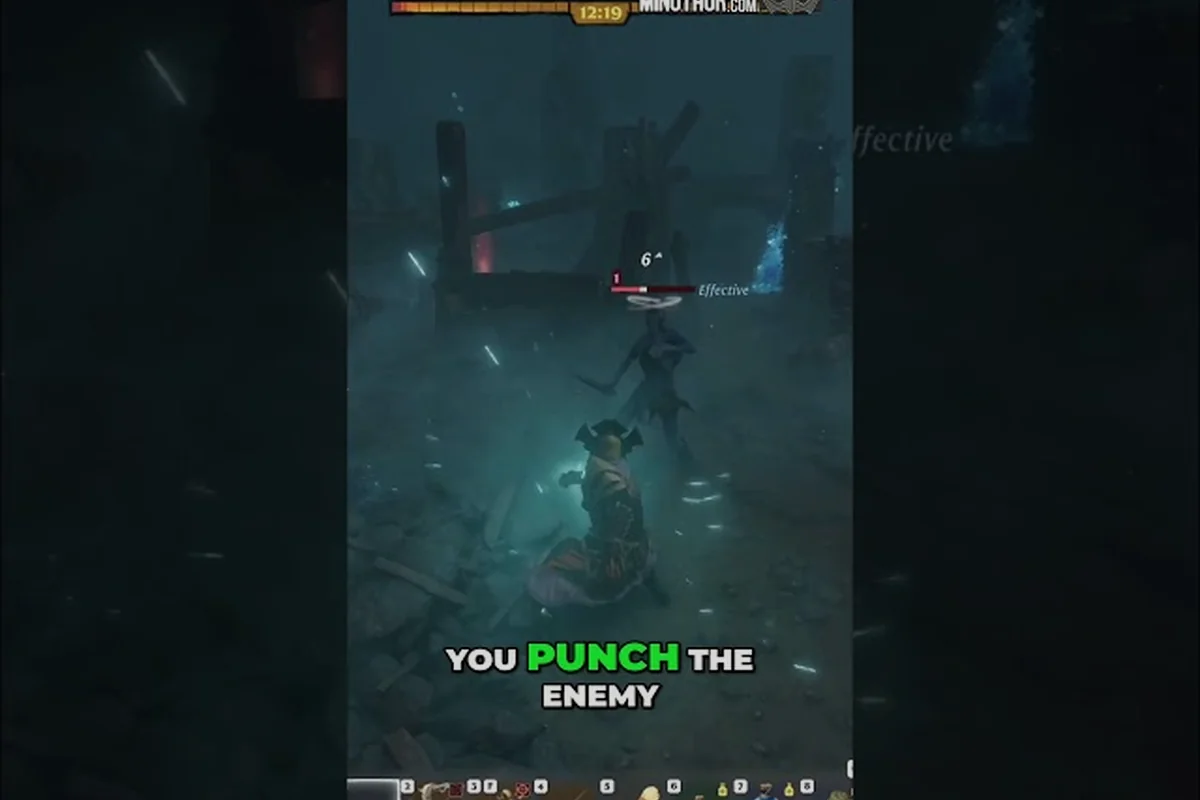
Every fight against a big enemy in Enshrouded runs on a hidden stagger bar, and understanding the boss stun meter is what separates a clean kill from a long, punishing slog. This guide breaks down how that meter fills, why elite and heavy enemies drop at different speeds, and how each faction changes the window you get.
The stun meter is not a visible health bar, so most players never notice it working. Once you learn to read the invisible buildup, you can chain staggers, cancel dangerous attacks, and turn a losing fight into a controlled one.
How the Stagger Bar Actually Fills in Combat
The stagger system tracks impact, not raw damage. Every weapon hit applies a hidden impact value to the target, and when that value crosses a threshold, the enemy enters a brief stagger state where it cannot act. This is the core of the boss stun meter guide: you are not racing health, you are racing a second, invisible resource.
Impact accumulates differently depending on weapon type, attack direction, and whether you land a charged heavy attack or a light swing. A fast dagger builds almost no impact per hit, while a two-handed hammer or a well-timed merciless attack can shove a bar forward in a single strike. According to community testing, most enemies also slowly drain their own stagger buildup when they are not being hit, which means spacing your attacks matters as much as landing them.
| Weapon Category | Impact per Hit | Stagger Buildup Speed | Best Use Case |
|---|---|---|---|
| Daggers / short blades | Low | Slow | Chip damage, not breaking |
| One-handed swords | Medium | Moderate | Balanced pressure on elites |
| Two-handed hammers | Very high | Fast | Breaking heavies and bosses |
| Bows / staves | Low to medium | Slow, ranged | Safe buildup from distance |
| Shield bash / parry | High | Burst | Interrupting telegraphed attacks |
The key takeaway is that impact is a separate stat from damage. A high-damage weapon with low impact will kill an enemy slowly without ever staggering it, while a lower-damage hammer can lock a heavy enemy down repeatedly. If you want to understand how this connects to the wider fight structure, the Enshrouded boss guide covers how individual encounters are sequenced.
Reading the Invisible Buildup
You can estimate stagger progress through animation cues. When an enemy's posture shifts, when it flinches slightly on a hit, or when its attack wind-up stutters, the bar is close to breaking. Players report that landing hits in quick succession keeps the buildup from draining, so burst windows are more valuable than steady chip damage.
Why Impact Beats Raw Damage
Against tanky targets, stacking impact-focused gear and skills shortens fights dramatically. A party that coordinates heavy attacks can stagger a boss three or four times in a single phase, opening free damage windows that a pure damage build never gets.
Elite Enemies and Their Stagger Sweet Spot
Elite enemies sit in the middle of the difficulty curve: tougher than trash mobs, but far more breakable than full bosses. An elite enemies guide matters here because their stagger thresholds are tuned to reward aggressive, well-timed pressure rather than patient poking.
Elites typically have a moderate stagger threshold and a shorter recovery animation than heavies. That means you can break them more often, but each break gives you less free time. The winning approach is to build impact fast, break early, and dump your highest-damage combo into the stagger window before the enemy recovers.
| Elite Type | Stagger Threshold | Recovery Window | Recommended Approach |
|---|---|---|---|
| Fell Scout variants | Low | Short | Rush with light combos |
| Vukah skirmishers | Medium | Medium | Trade hits, then break |
| Armored elites | High | Medium | Target weak points first |
| Caster elites | Low | Very short | Interrupt before they cast |
The most common mistake with elites is overcommitting after a break. Because their recovery is fast, a long animation-heavy combo will leave you exposed when they snap back. Instead, land two or three heavy hits, then reposition. This matters most against Vukah skirmishers, whose medium stagger threshold and medium recovery window punish greedy follow-ups — a full three-hit chain plus a skill finisher will typically outlast the break, letting them clip you with a counter before your dodge comes back online. Watch the stagger meter itself: once the bar empties and the break animation starts, you have roughly enough time for two heavy attacks or one charged skill, not both. Against Fell Scout variants the math is even tighter, so treat every break as a fixed budget rather than an invitation to dump your entire kit.
Positioning Around Fast Recovery
Circle-strafe toward the enemy's weapon side, since most elites telegraph their next attack in that direction. Staying on the move keeps your stamina available for the next impact burst, and it prevents the stagger bar from draining while you wait for an opening.
Heavy Enemies: Slow Targets Worth Breaking
Heavy enemies are the opposite problem. They have a high stagger threshold, meaning you need sustained impact to break them, but the payoff is a long, generous stagger window. A heavy enemies guide should focus on surviving the buildup phase, because that is where most players die.
Heavies hit hard and telegraph slowly, so the danger is not reaction time but attrition. You need to land enough impact to break them before your health or stamina runs out. Two-handed weapons, shield bashes, and coordinated party hits are the fastest routes to a break.
| Heavy Enemy Trait | What It Means for You | Counter |
|---|---|---|
| High stagger threshold | Long buildup phase | Stack impact gear and skills |
| Slow, wide attacks | Easy to dodge but punishing | Sidestep, do not backpedal |
| Long stagger window | Big free damage opportunity | Save your burst combo |
| Armor plating | Reduces chip damage | Aim for exposed weak points |
The reward for patience is real. A broken heavy enemy often cannot act for several seconds, which is enough for a full combo, a heal, or a repositioning reset. In co-op, this is when your party should focus fire together rather than spreading damage.
Coordinating Party Impact
When multiple players hit a heavy at once, the impact values stack, so a coordinated burst can break a heavy far faster than solo play. Assign one player to bait attacks while the others land heavy hits, then all commit the moment the stagger triggers.
Enemy Factions Explained: How Fell, Vukah, and Cinder's Cradle Differ
Faction identity changes how you approach the stagger game. An enemy factions explained breakdown helps because Fell, Vukah, and the newer Cinder's Cradle enemies all build and lose stagger differently. The 1.0 changelog notes that the Cinder's Cradle faction added 14 new enemy types, and combined with new variants for existing factions, that totals 37 new enemies, so faction knowledge is more relevant than ever.
| Faction | Stagger Behavior | Damage Style | Best Counter |
|---|---|---|---|
| Fell | Shroud-linked, erratic | Ranged and melee mix | Close distance fast |
| Vukah | Aggressive melee pressure | Heavy swings, swarms | Break the leader first |
| Cinder's Cradle | Fire and elemental | Area denial | Resistances plus impact |
A fell enemies guide usually emphasizes their shroud connection: Fell enemies often fight near Shroud zones, so your Shroud timer becomes a second clock during the fight. Breaking them quickly matters because lingering in the fog drains your survival time.
A vukah enemies guide focuses on pressure management rather than raw damage output. Vukah swarm in packs and swing heavy, so their stun meter fills fast but also recovers fast once you disengage — meaning burst impact windows matter more than sustained chip damage. Breaking the biggest threat first (typically the pack leader, whose stagger threshold sits noticeably higher than the rank-and-file Vukah) prevents the group from overwhelming you while your stun meter is still recharging. Because their stagger thresholds are moderate, blunt weapons and impact-focused builds like the Hammer or Shield Bash skills land staggers in two to three solid hits, letting you chain stuns across a swarm before the survivors can close the gap.
Fell Enemies and the Shroud Factor
Fell enemies are the roaming Shroud-dwellers you meet long before any named boss, and their AI is built to punish hesitation: a Scavenger will loose a thrown rock from range, then commit to a lunging melee combo the moment you stand still to trade hits. That is why closing distance fast matters — a stun meter only fills from landed hits, and every second spent jogging through open ground is a second your Shroud timer keeps draining. Because Fell packs frequently spawn inside or at the edge of Shroud pockets, treat your remaining survival time as the real budget: if you have under a minute left, break line of sight, reset, and re-engage after a Shroud Root or Flame Altar top-up rather than forcing a stun through the last few seconds.
Vukah Enemies and Melee Pressure
Vukah groups punish passive play because the swarm's damage output scales with the number of active members, not their individual strength. Breaking the largest Vukah early removes the anchor of the swarm, and the rest become far easier to clean up — once the alpha's stun meter fills, the remaining Vukah lose their damage buff and stagger far more readily. Impact-heavy weapons shine here because the whole group shares similar, breakable thresholds; a single two-handed hammer or club swing can chain-stagger three or four Vukah at once, whereas slashing weapons only chip one target's meter at a time. Prioritize the biggest silhouette first, then sweep the survivors with wide, high-impact arcs before their meters reset.
Building a Repeatable Stagger Routine
Once you understand thresholds, you can turn stagger into a repeatable routine instead of a lucky accident. The goal is a loop: build impact, break, burst, reset. Mastering this loop is the practical payoff of any boss stun meter guide.
-
Open with impact, not damage. Lead with your heaviest impact attack to start the bar moving immediately.
-
Watch for the flinch. A slight posture shift signals the bar is near breaking, so hold your burst.
-
Commit on the break. Dump your highest-damage combo the instant the stagger triggers.
-
Reset before recovery. Back off as the enemy stands up, then rebuild impact for the next break.
-
Match weapons to faction. Fire-resistant foes want impact plus the right element, not just raw numbers.
This routine holds whether you are farming Fell thralls in the Kindlewastes, cracking Vukah brutes around the Revelwood, or chipping down a named Hollow Halls boss — the stagger bar obeys the same rules, only the impact threshold scales. The practical reason it transfers is that break windows are gated by impact accumulation, not raw DPS: a merciless attack landed mid-combo adds a fixed chunk of stagger that a normal swing cannot match, which is why the Enshrouded merciless attack guide treats timing as the input that feeds these windows. Against elites and heavies with higher poise, expect two to three full impact rotations before the flinch, so budget stamina and keep a reset window open rather than overcommitting on the first bar fill.
Matching Weapons to Faction Resistances
Elemental resistances matter as much as impact. A hammer that deals fire damage is wasted on a fire-resistant Cinder's Cradle enemy, while a physical impact weapon keeps building stagger regardless. Check the target's faction before you commit a loadout, and swap weapons when a fight drags.
Common Stagger Mistakes That Cost Fights
Even experienced players fall into patterns that quietly waste the stagger system. The most common is dumping full combos into a Fell enemy after the meter breaks instead of landing two or three impact hits and repositioning, which leaves you animation-locked when the stun window closes and the boss re-enters its attack rotation. Another frequent error is spreading party damage across multiple Vukah or Shroud-touched elites, splitting the stagger buildup so no single bar ever fills before the Shroud timer forces a retreat. Avoiding these mistakes is often the difference between a two-minute fight and a five-minute grind, because a stagger that lands during the break window compounds with your party's burst damage rather than trickling in against a recovering target.
| Mistake | Why It Hurts | Fix |
|---|---|---|
| Chasing damage over impact | Bar never breaks | Prioritize impact weapons |
| Overcommitting after a break | Punished on recovery | Land 2-3 hits, then move |
| Ignoring stamina | No burst when it matters | Manage stamina for breaks |
| Spreading party damage | Slow buildup | Focus fire one target |
| Fighting in deep Shroud | Timer kills you | Break fast or retreat |
The biggest offender is treating stagger as random. It is not. Every Fell, Vukah, and Shroud-touched elite carries a hidden impact threshold that only fills from blunt hits, parries, and skills flagged with stagger values — raw DPS from a bow or wand barely moves the bar at all. That means a two-handed hammer build can break a Fell brute in roughly four charged swings, while a dagger build chipping the same target may never trigger a break before the Shroud timer forces a retreat. Treat the meter as a resource with a fixed fill rate, track which of your attacks actually contribute impact, and every heavy and elite becomes a puzzle with a solution instead of a coin flip.
Adjusting for Solo and Co-op
Solo players must manage stamina and positioning alone, so slower, safer impact builds work best. Co-op groups can stack impact and break enemies far faster, but they need to focus fire rather than scatter. The Enshrouded boss loot table helps you decide which fights are worth the effort based on the rewards they drop.
Frequently Asked Questions
How does the boss stun meter work in Enshrouded?
The stun meter is a hidden impact bar separate from health. Each hit adds impact based on your weapon and attack type, and when the bar fills, the enemy staggers and cannot act for a short window. Buildup slowly drains when you stop hitting, so sustained pressure matters.
Which weapons break elite enemies fastest?
Two-handed hammers and shield bashes deliver the highest impact per hit, making them the fastest elite breakers. Fast weapons like daggers build stagger slowly, so pair them with a heavy secondary or impact-focused skills to reliably trigger staggers during longer fights.
Do Vukah and Fell enemies stagger differently?
Yes. Vukah enemies use aggressive melee pressure with moderate stagger thresholds, so breaking the largest one first collapses the swarm. Fell enemies mix ranged and melee near Shroud zones, so you must break them quickly before your Shroud timer runs out.
Can I stagger a boss in co-op faster?
Absolutely. Impact values from multiple players stack, so a coordinated party can break a boss several times per phase. Assign one player to bait attacks while the others land heavy hits, then everyone commits the moment the stagger triggers for maximum free damage.
What is the biggest stagger mistake players make?
Chasing raw damage instead of impact is the most common error. A high-damage, low-impact weapon kills slowly without ever staggering the target. Prioritizing impact weapons and timing your burst combo to the break window turns long fights into short, controlled ones.
Wrapping Up Your Stagger Strategy
The boss stun meter is the most underused system in Enshrouded combat. Treating impact as a resource you build deliberately, rather than a random bonus, lets you break elites and heavies on command and dictate the pace of every fight. Start by swapping one weapon to a high-impact option, watch for the flinch cue, and commit your burst the instant the stagger lands. Faction knowledge completes the picture: Fell, Vukah, and Cinder's Cradle enemies each demand slightly different timing, and matching your loadout to the target keeps your break windows consistent. Once the loop of build, break, burst, and reset becomes second nature, even the toughest encounters stop feeling like damage races and start feeling like puzzles you already know how to solve.